…this is the time of year that everyone’s love affair with spices catch up with my year-round favorite flavors. I love all the warm spices that make the rounds every Autumn. Pumpkin spices in my coffee? Thanks a latte! Cinnamon spiced cereals? Yes, please. Throw it all into my grocery cart. May I have one of everything?
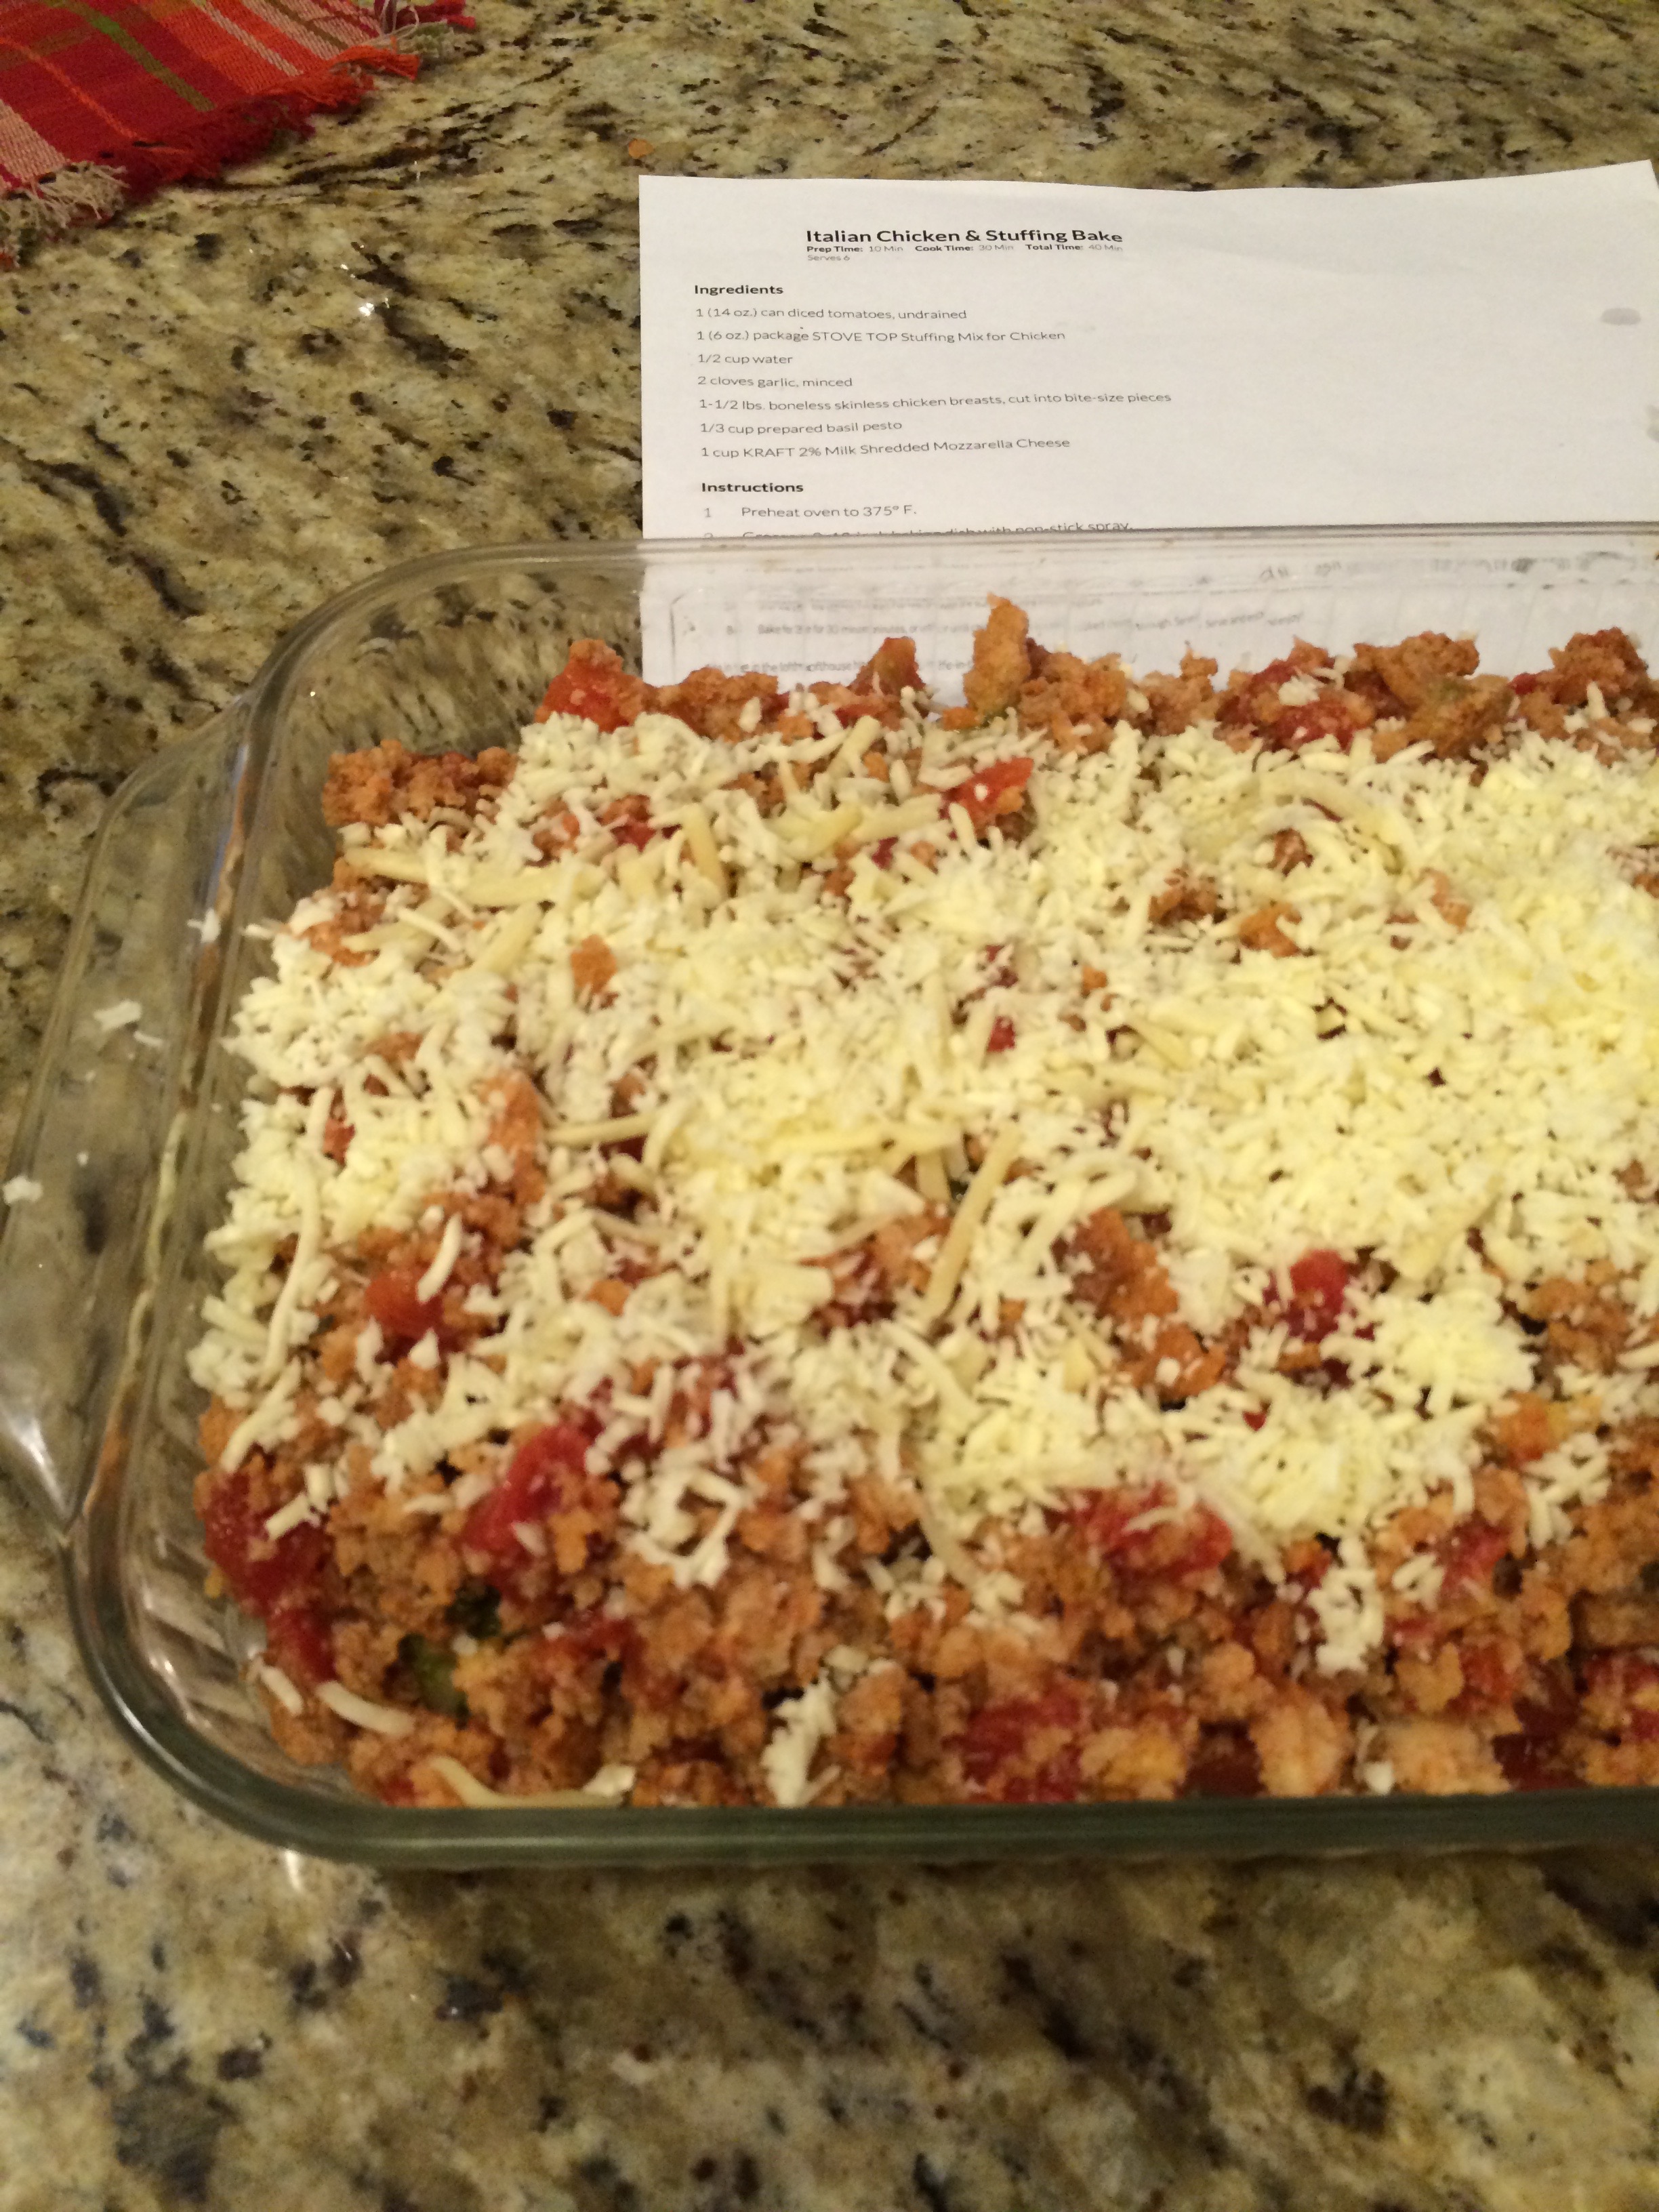
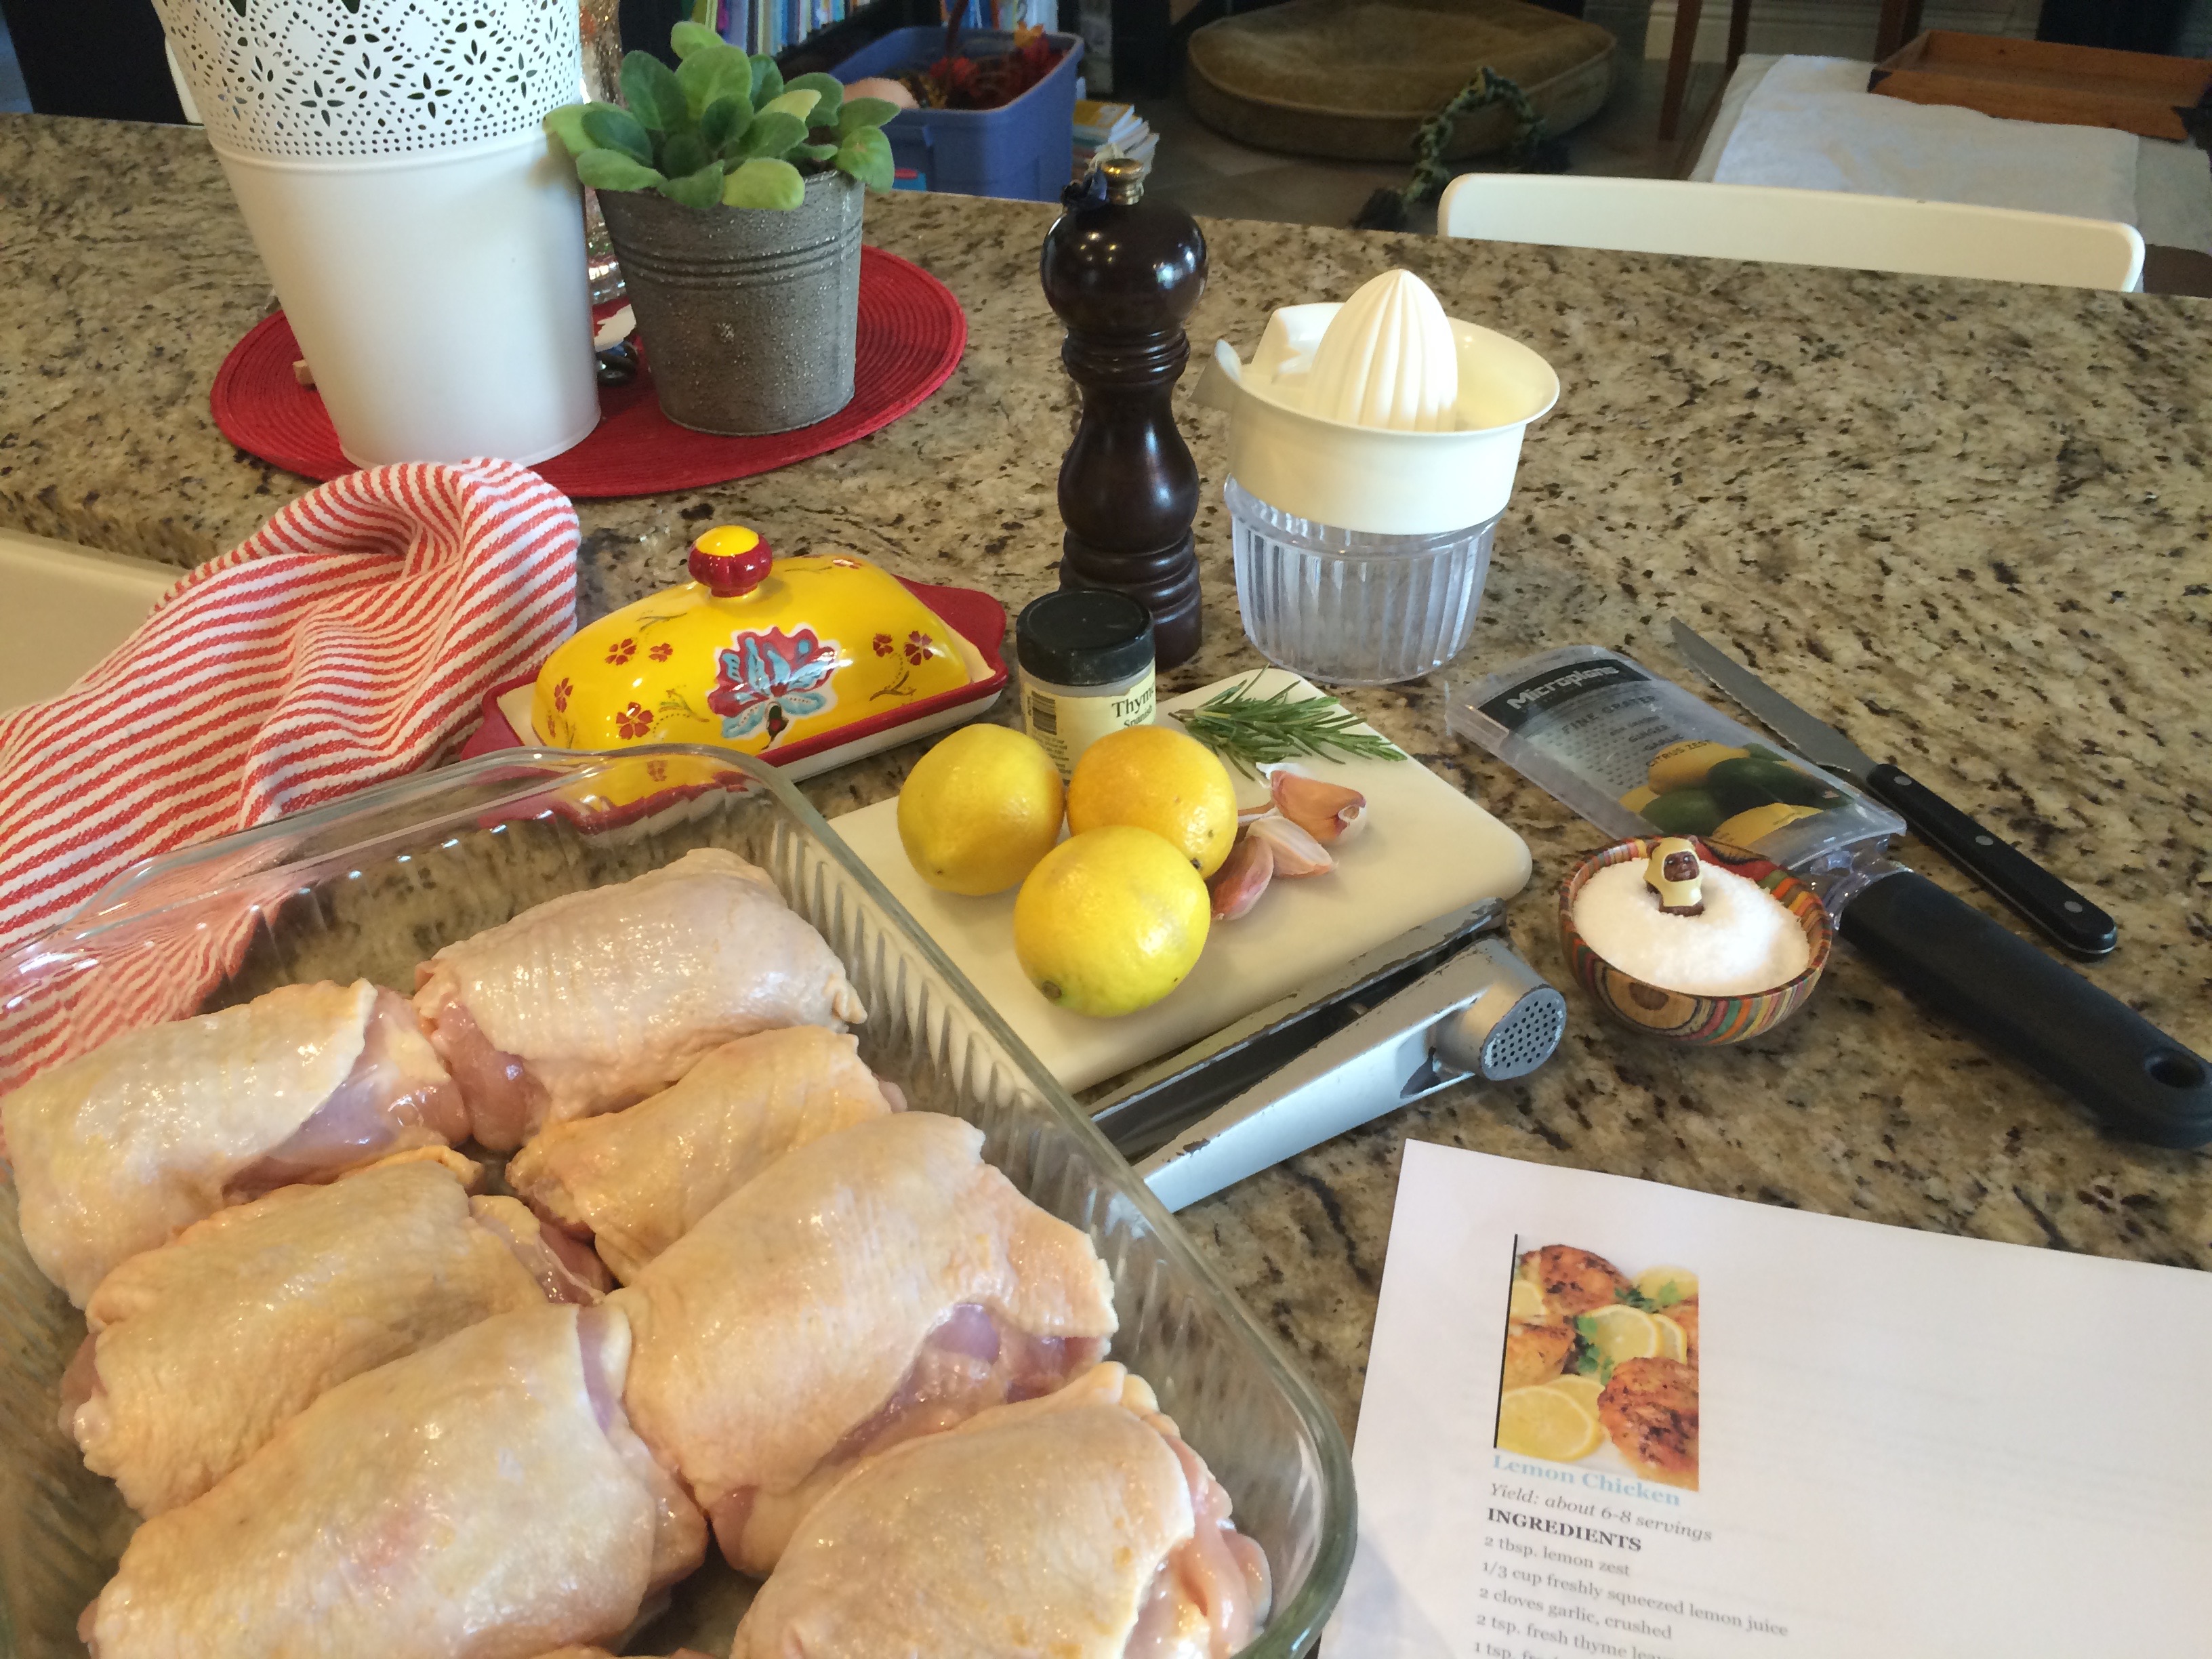
Ready for the oven…
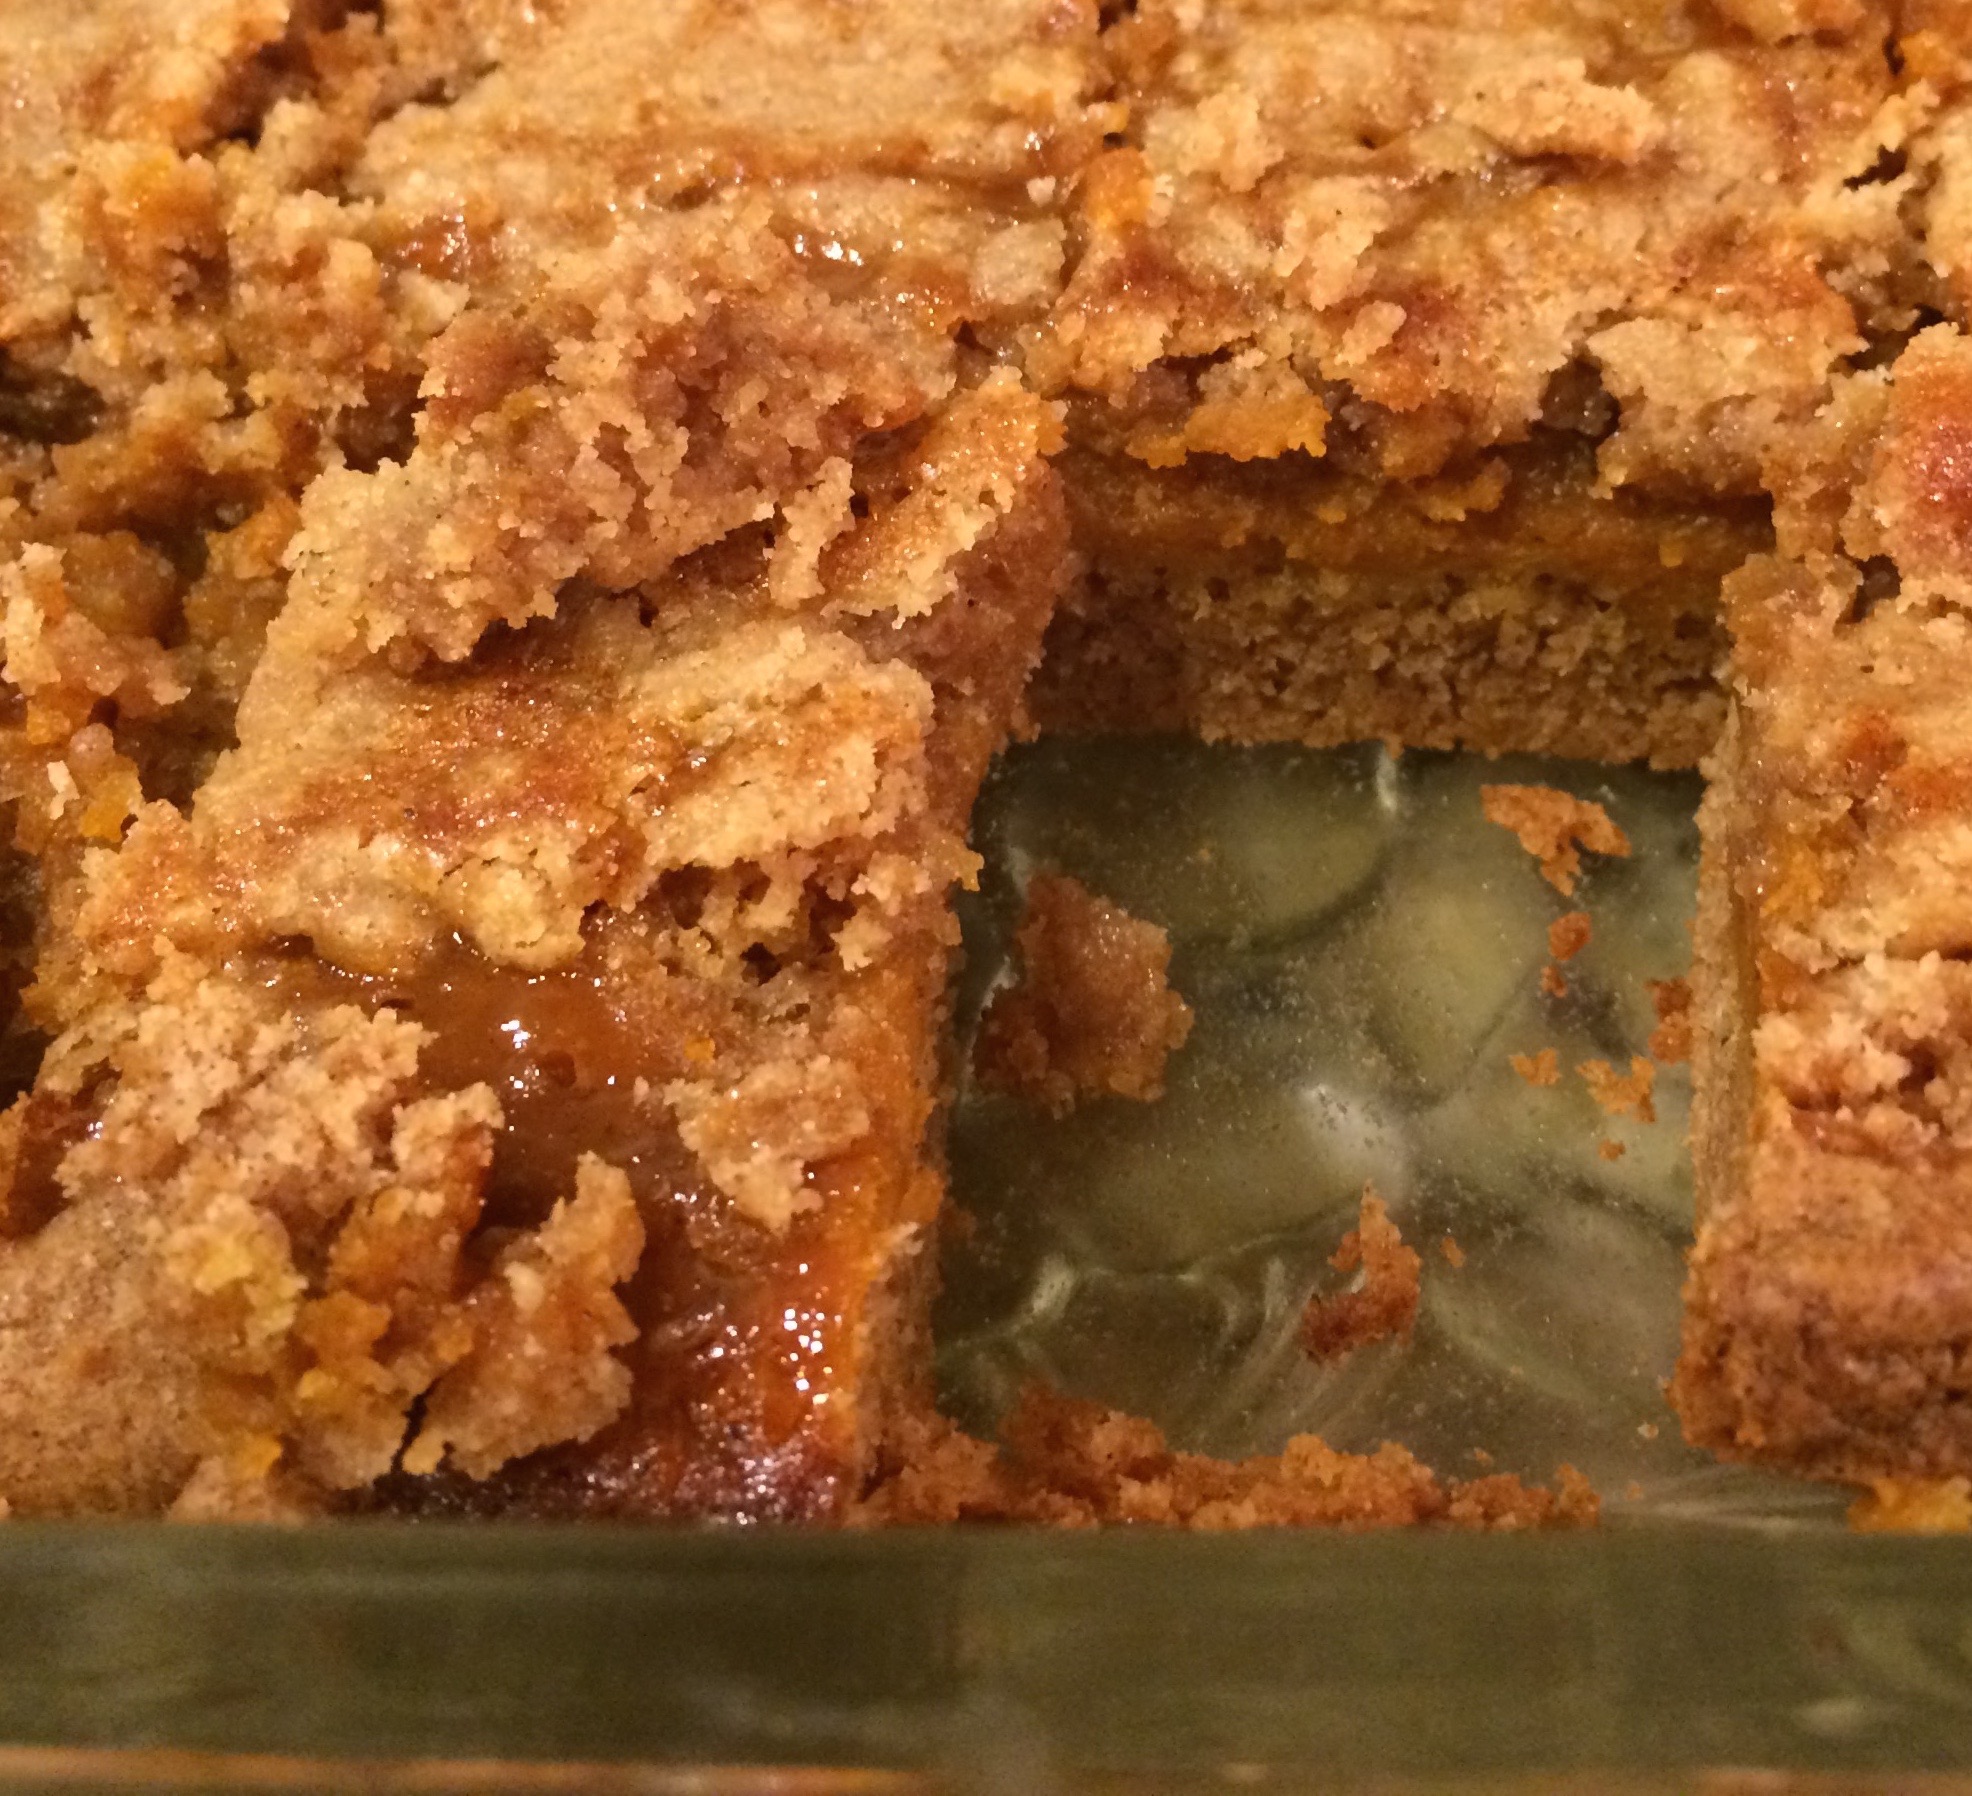
I bought the Trader Joe’s jar of Pumpkin Butter… always wanted to do something with this stuff. A little web searching came up with a blog that crossed the Williams Sonoma “Ooey Gooey Pumpkin Bars” with the Trader Joe’s ingredient at 1/6th the price.
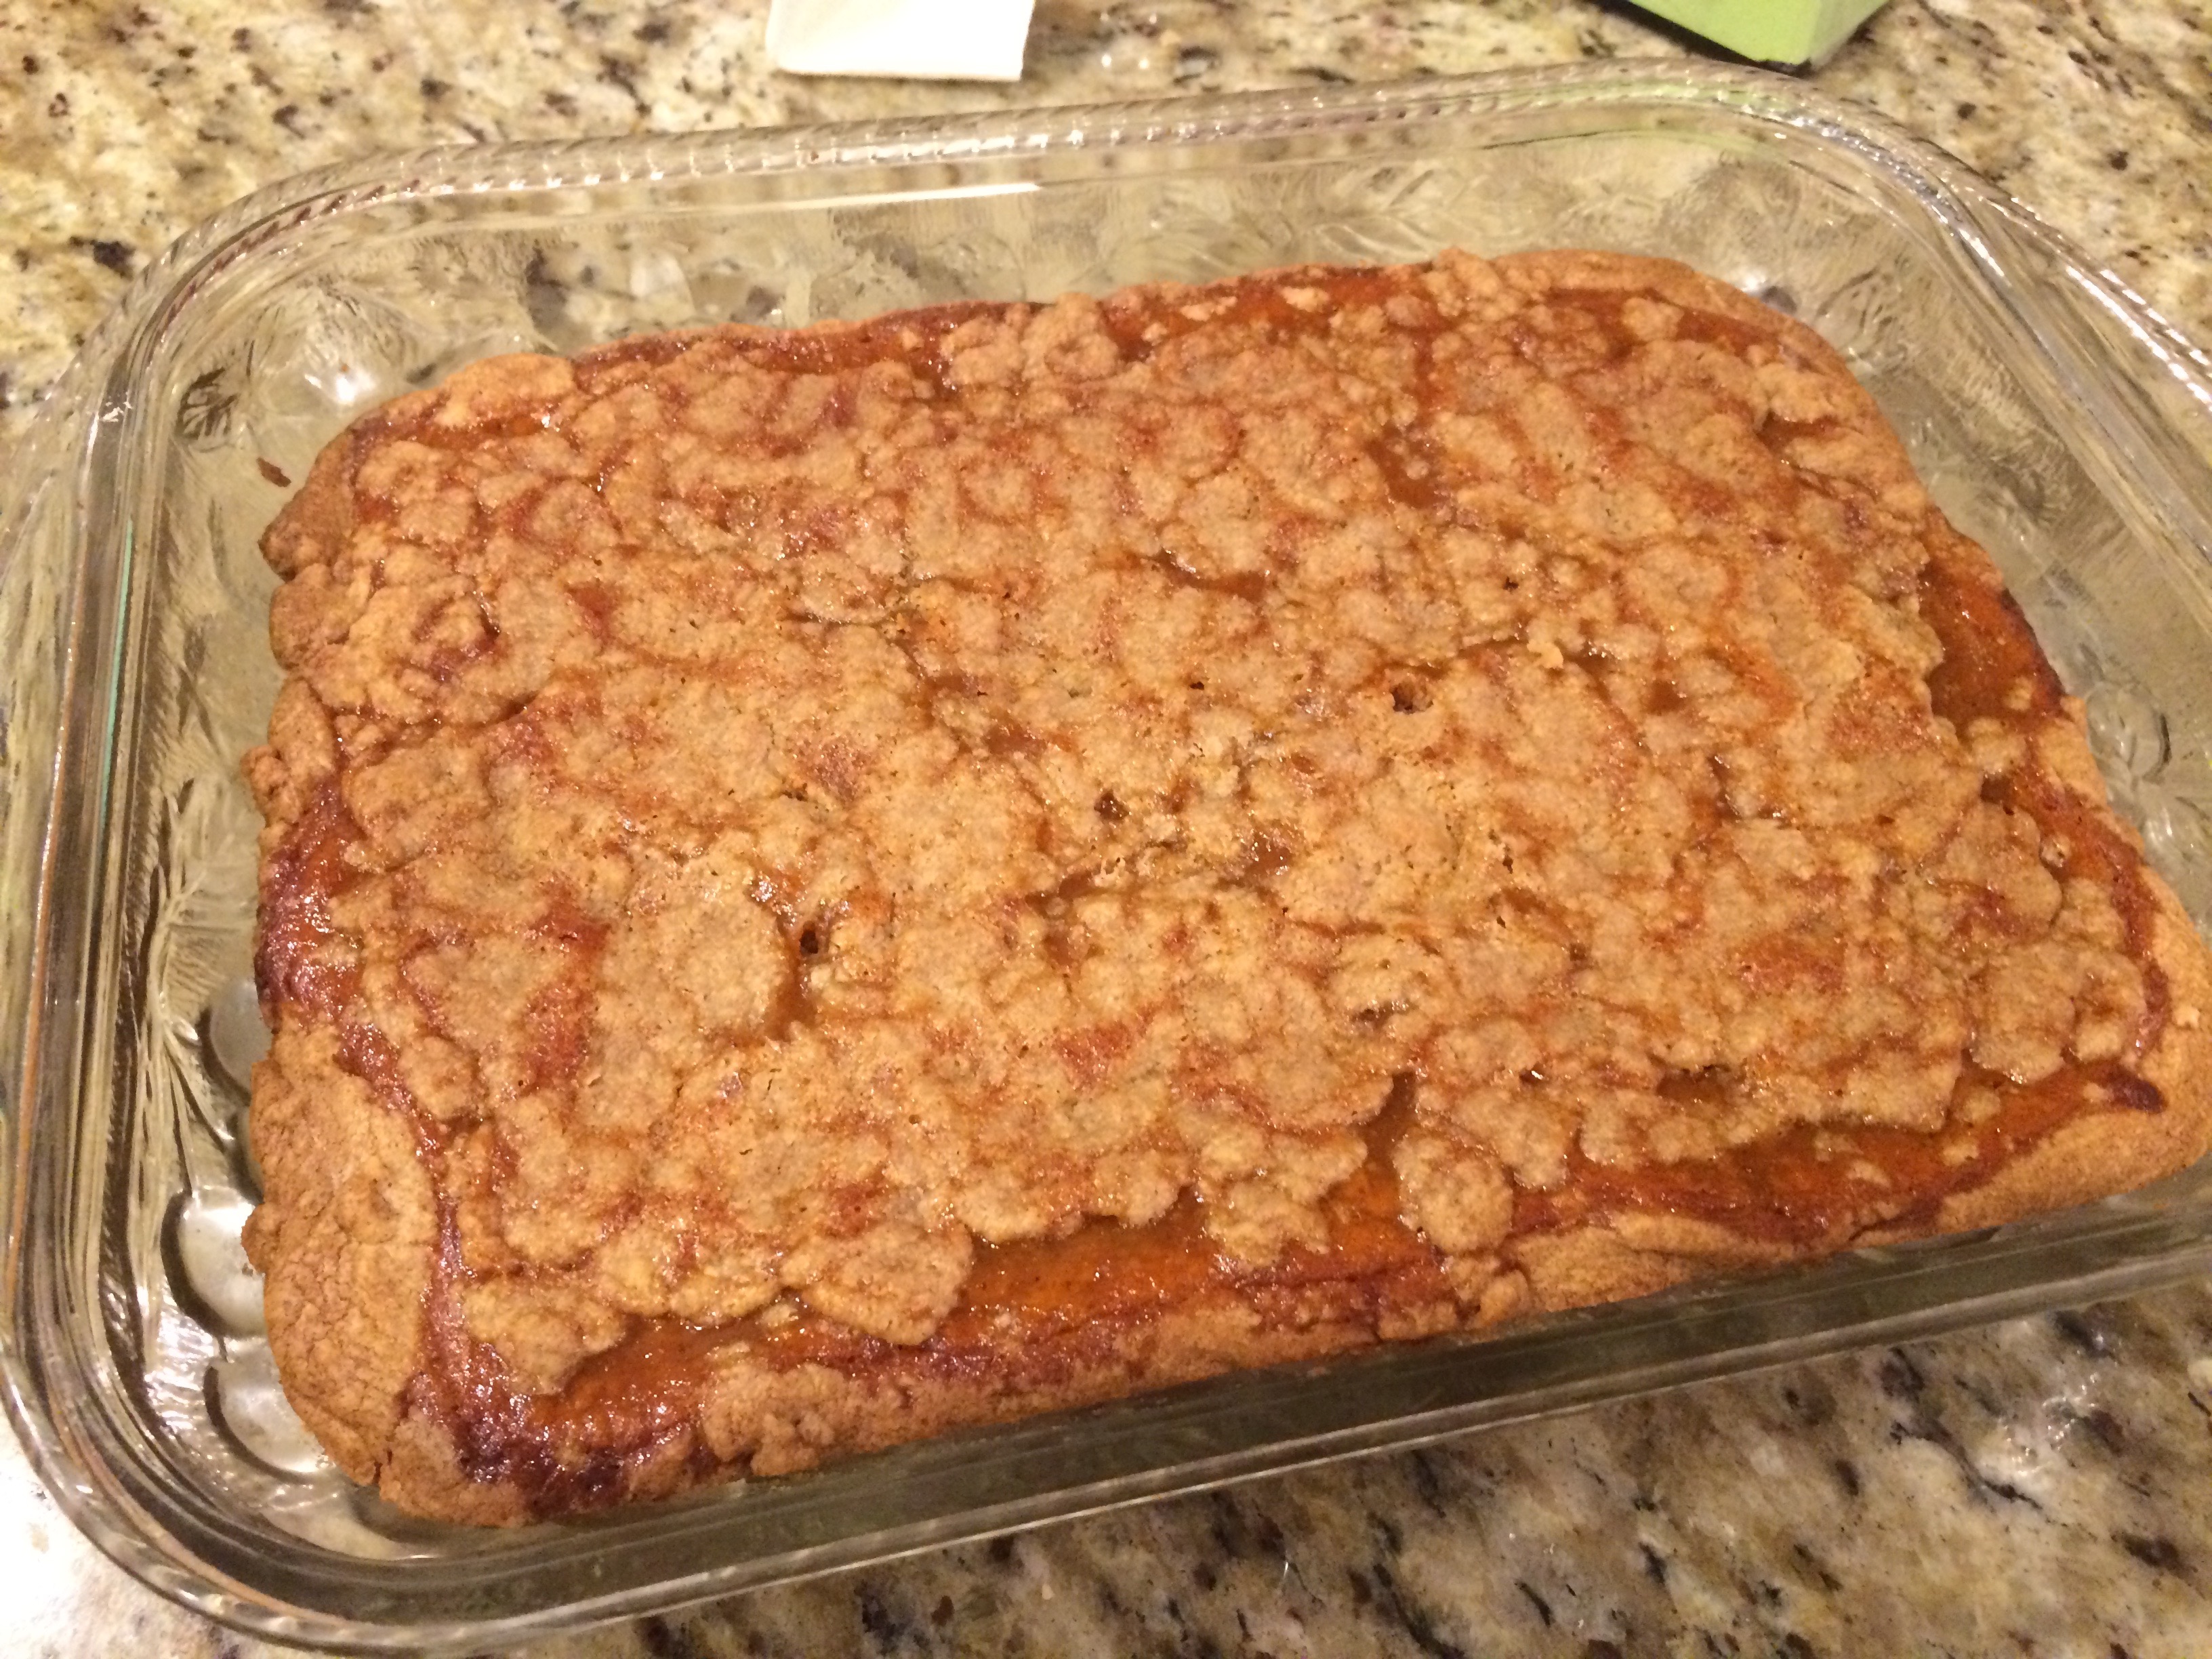
And The Husband Sayeth: “It is good.” Good, my foot, these bars are GREAT. Thank you Sheila at SweetBakedLife.com for your Pumpkin Butter Dessert Bars– a delicious dessert that is too good to be served only one season of the year. Sheila made a few changes to the original recipe to the ever popular Williams Sonoma dessert so the proportions work with the slightly smaller jar of pumpkin butter from Trader Joe’s. Thanks for doing the work, Sheila, your recipe is dee-lish!
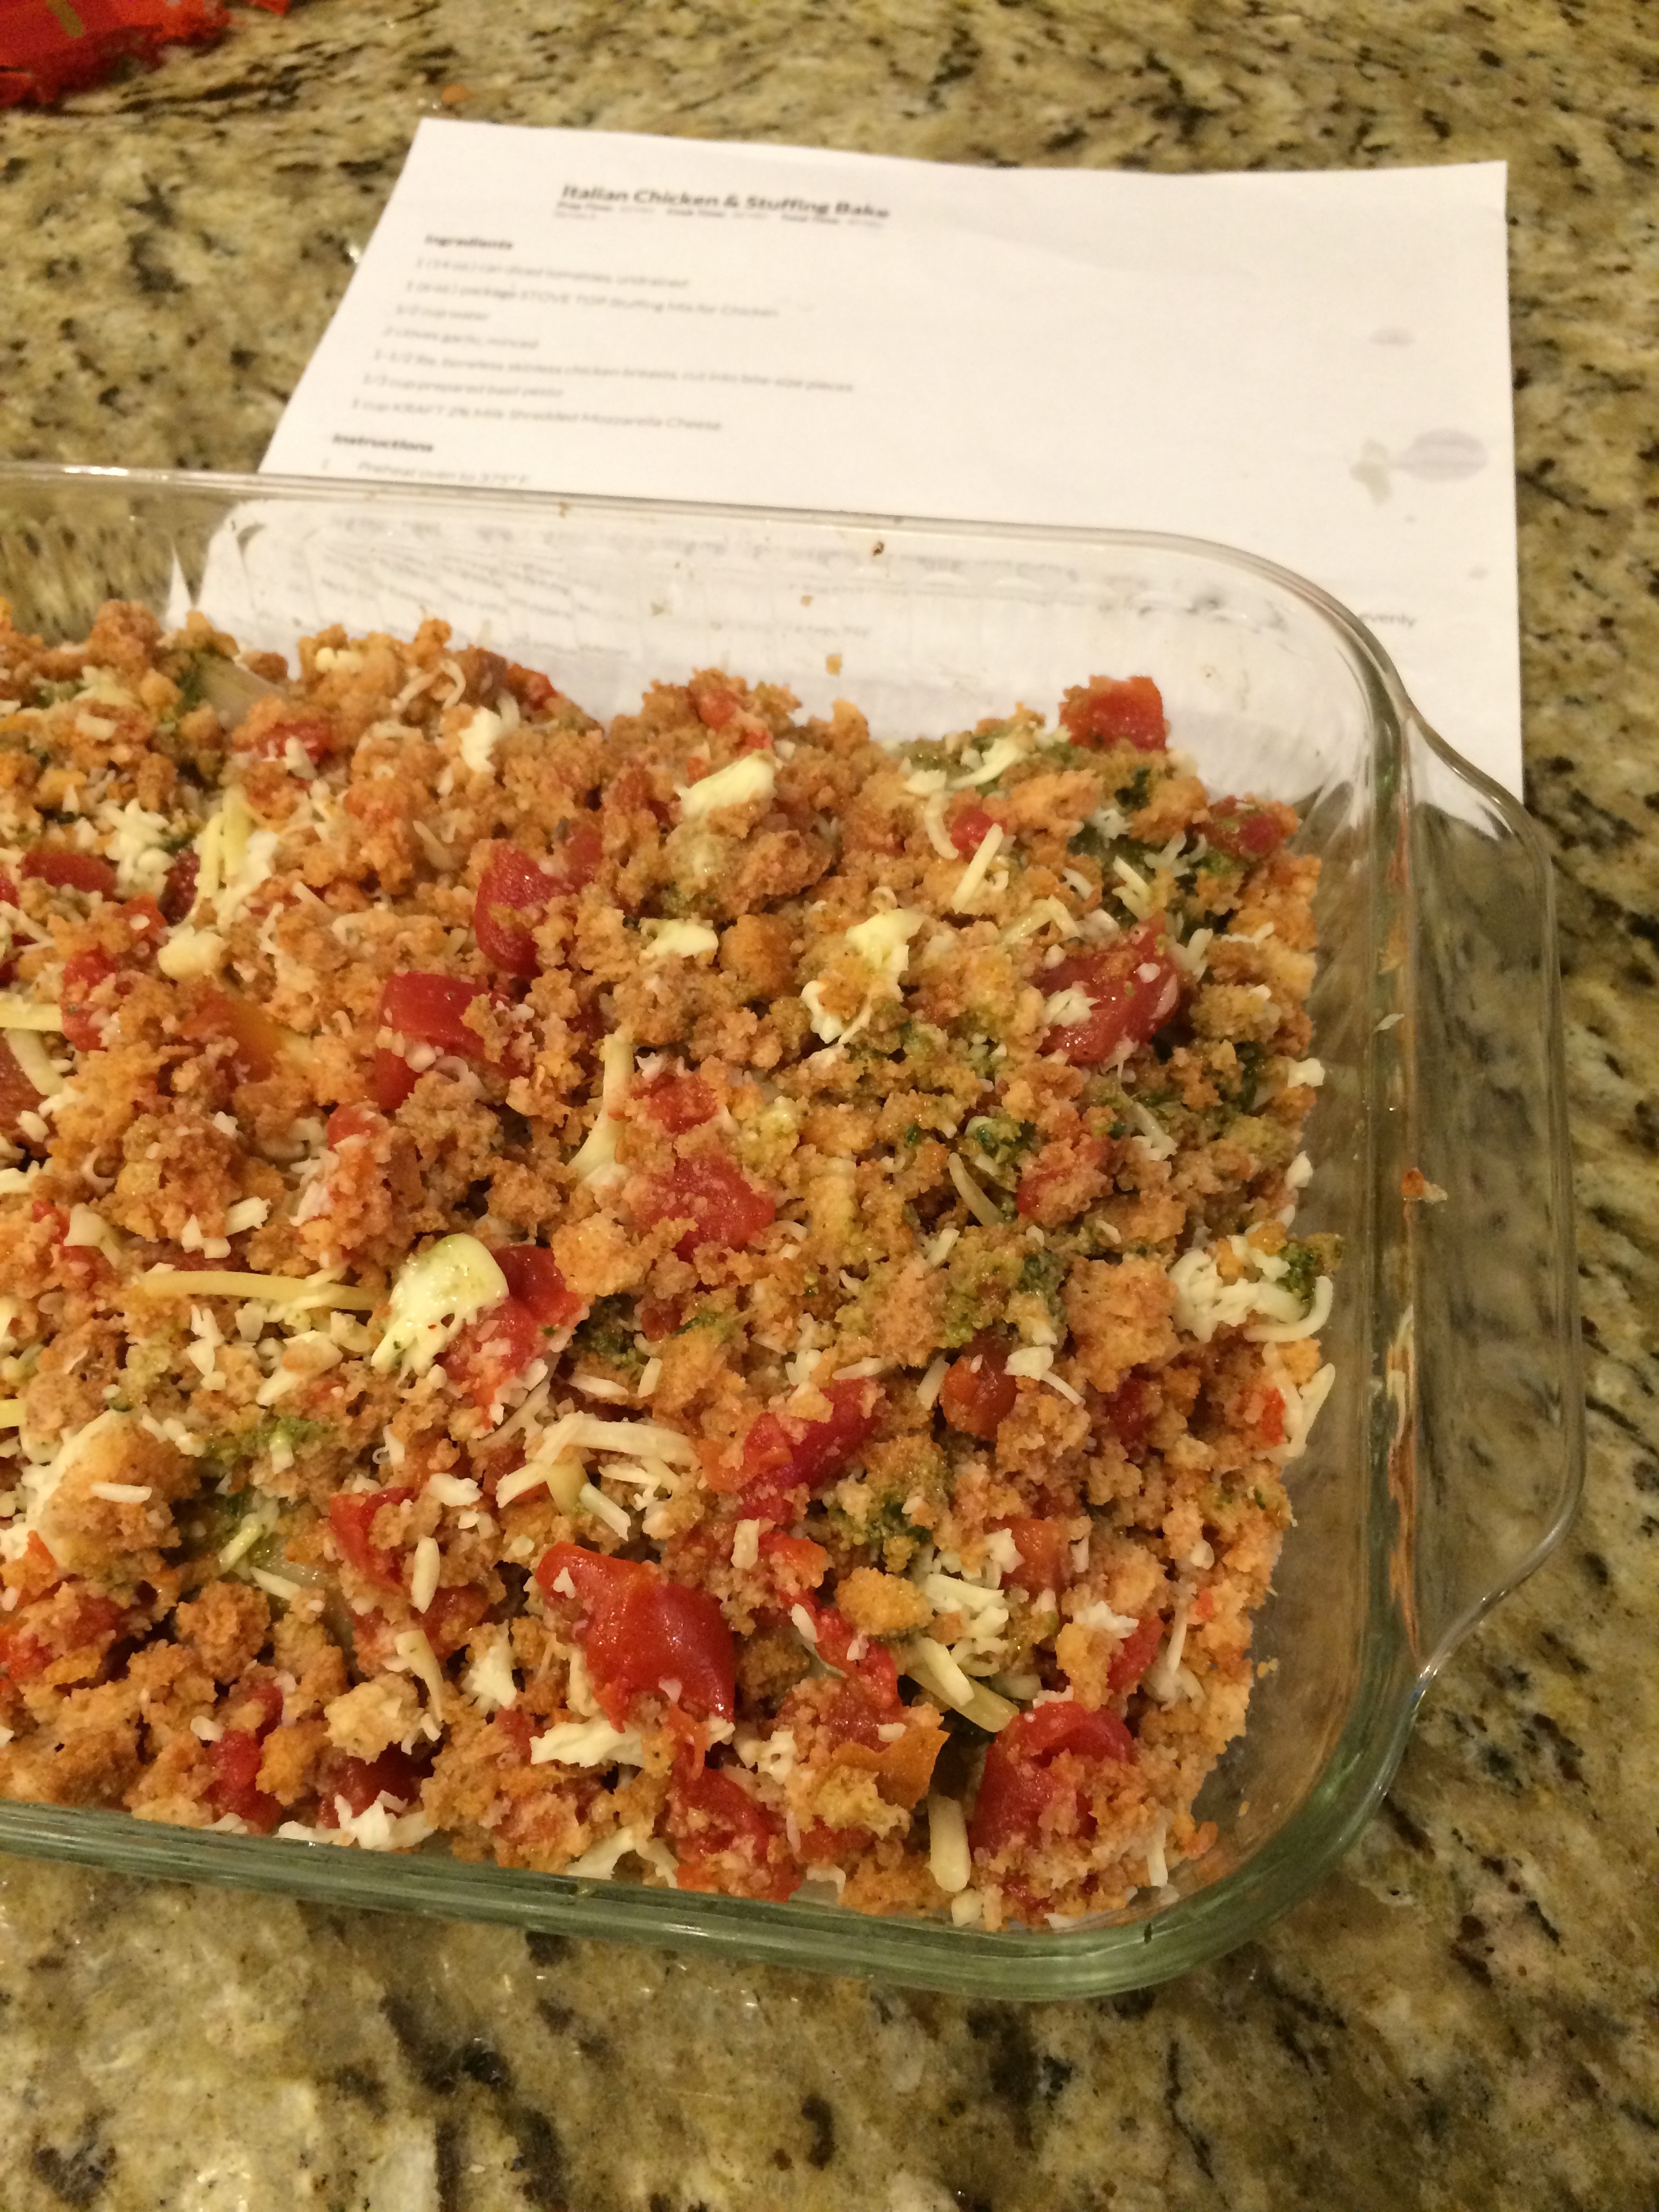
All done!
I followed her recipe nearly exactly, substituting a spice cake mix for the standard yellow butter cake. I also omitted the cinnamon in the topping… good call. The cake mix could stand on its own spices. The bars took less than 20 minutes to mix, layer up, top off with crumbles, then only 45 minutes to bake.
Served warm topped with ice cream or eaten out of hand, these are going to be in my regular rotation- any season, any occasion, any time.
Pumpkin Butter, $2.29, cake mix $1.25, 3 eggs, a stick and a half of butter and little more… delicious.
It’s perfect for illustrating all the reasons why a recipe can go wrong… like, if someone feels like swapping ingredients and decide to not follow certain/most instructions, for instance. Experienced cooks, comfortable in the kitchen, should be able to monkey around with ingredients and directions. Experienced, comfortable cooks also get to botch things up, too. Also, someone would have liked to have posted this yesterday (New Menu Monday), but someone’s son monopolized the desktop all evening for an “I swear, I’ll be done in ten minutes, mom, it’s easy” assignment.
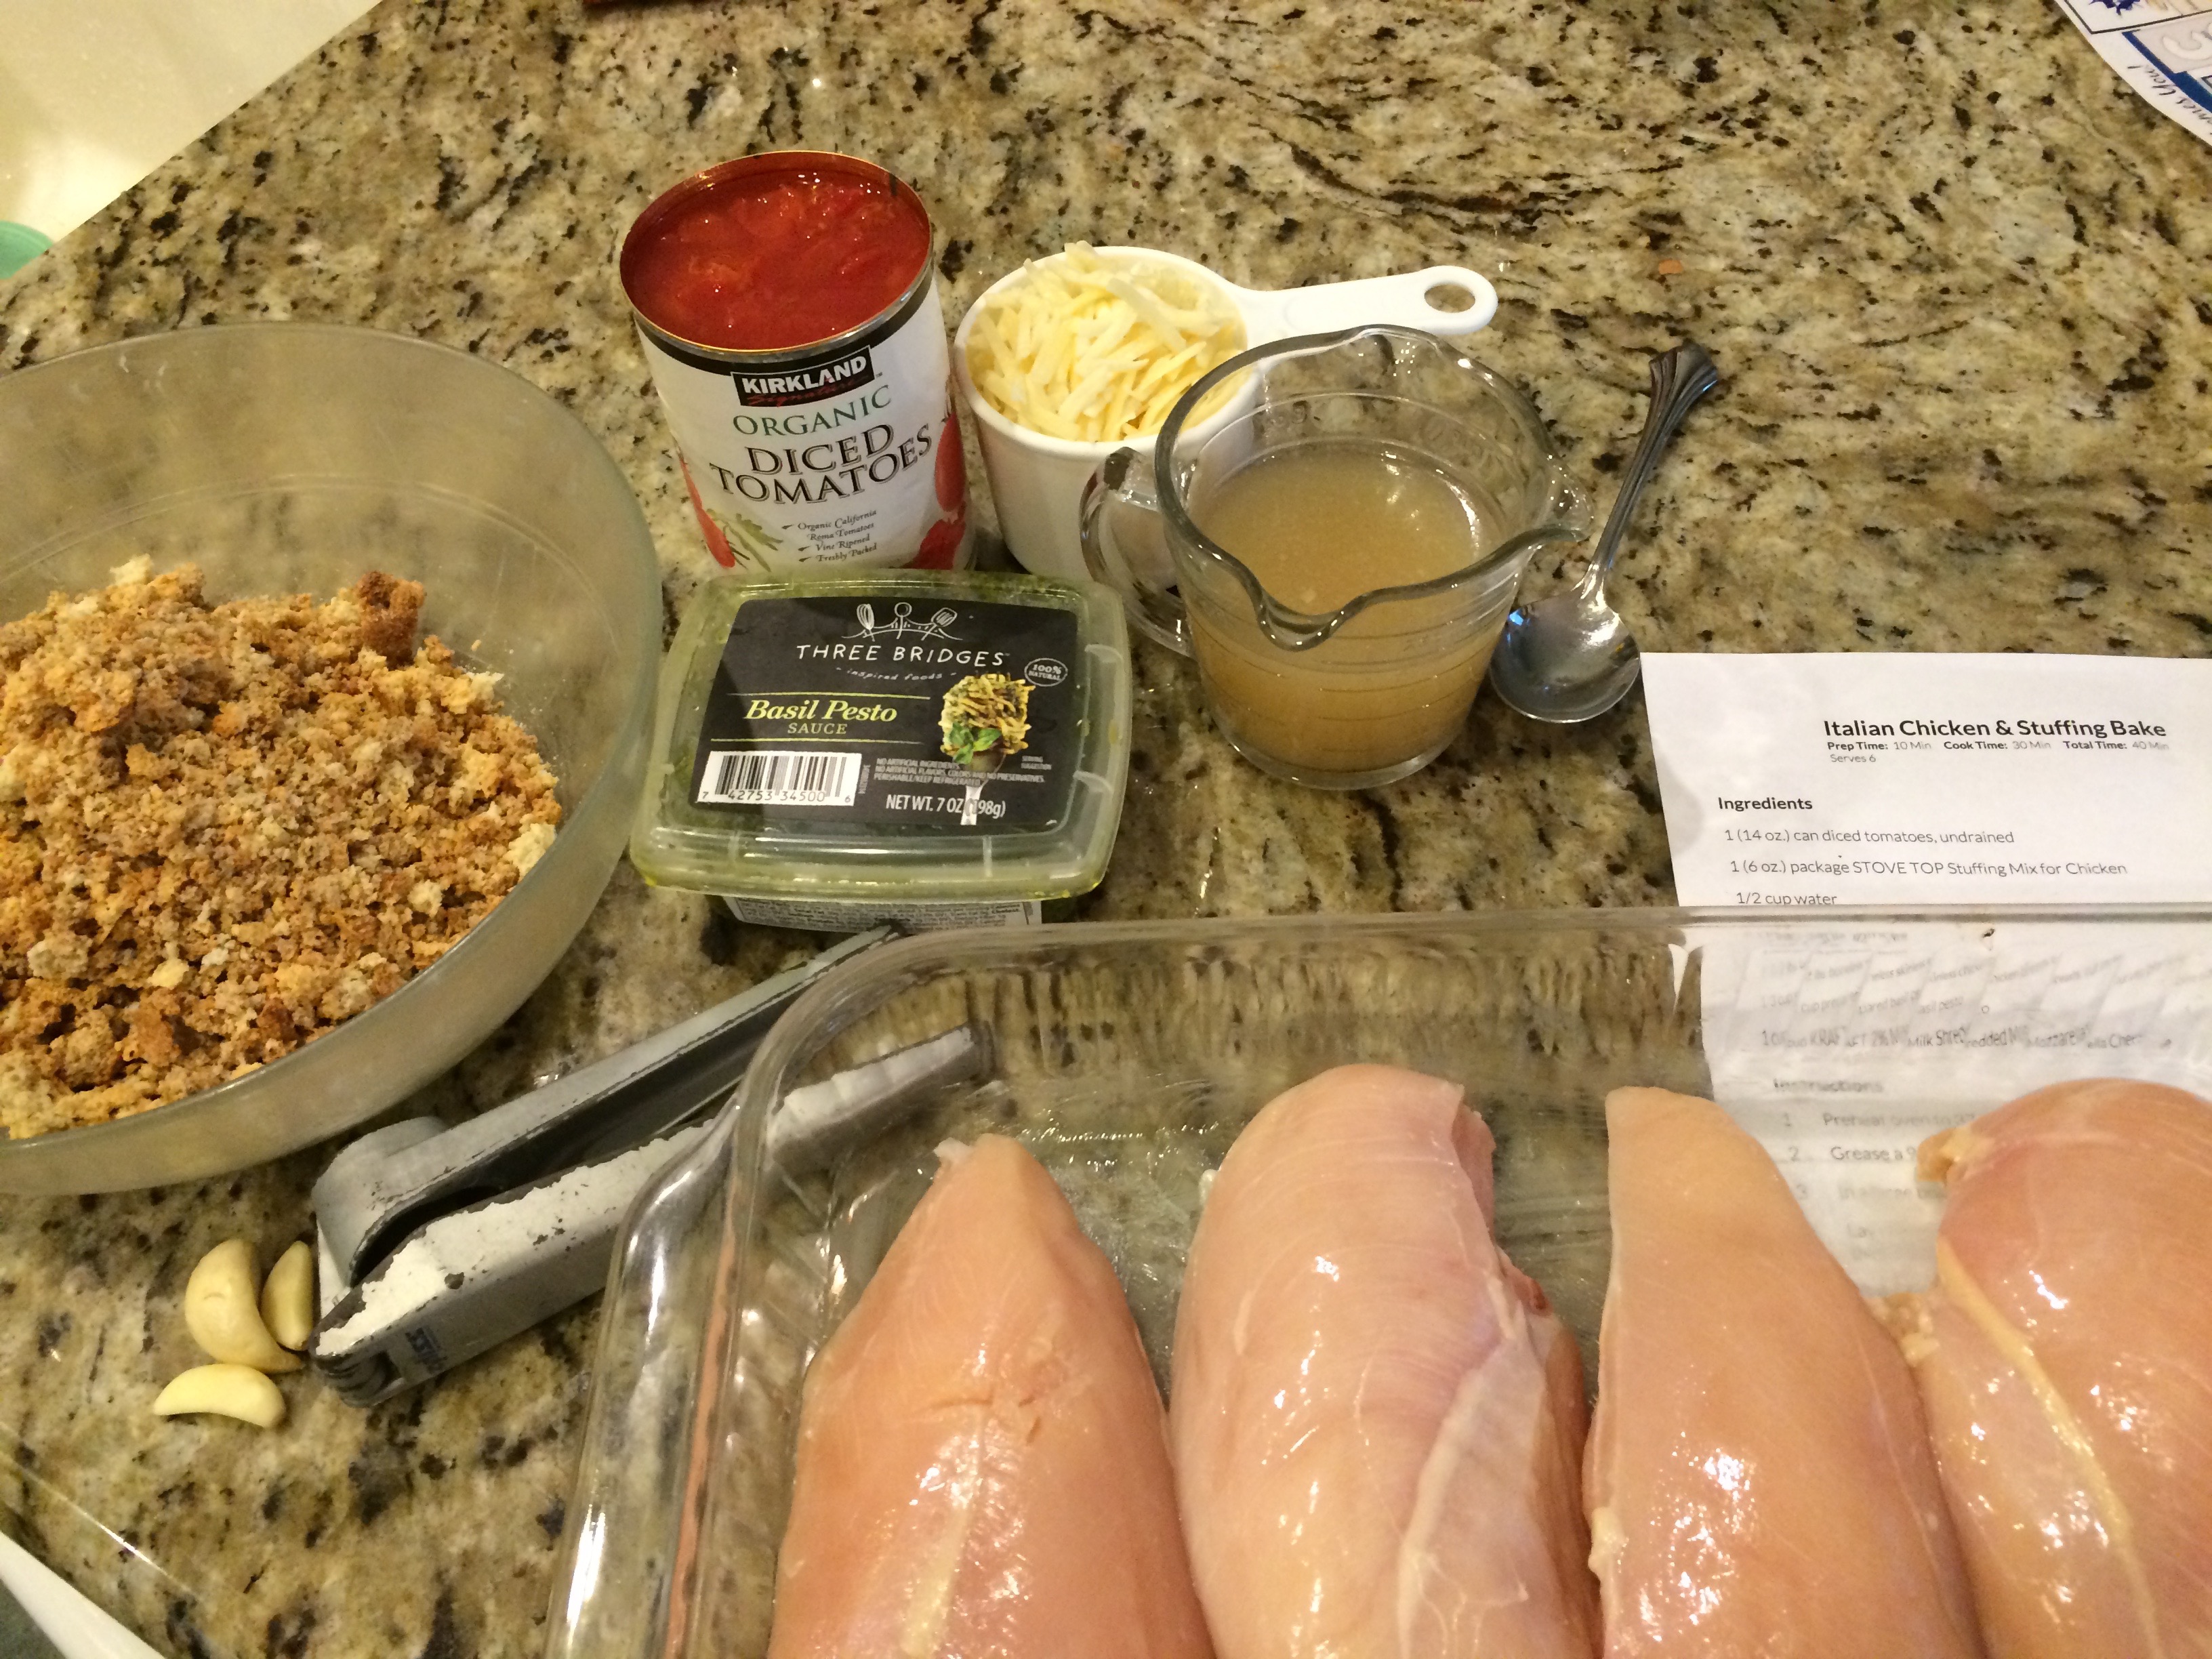
Let’s take these simple ingredients:
1 (14 oz.) can diced tomatoes, undrained
1 (6 oz.) package stuffing mix for Chicken
1/2 cup water (or broth)
2 cloves garlic, minced
1-1/2 lbs. boneless skinless chicken breasts, cut into bite-size pieces
1/3 cup prepared basil pesto
1 cup shredded mozzarella cheese
If you decide to use four enormous whole chicken breasts, not chopped, swap a different kind of stuffing mix instead of the typical national brand, add the cheese in the wrong place and you will have to cook everything for twice as long as the directions, you might have some issues.
Oops!
But, these are good flavors that go well together which stand up to Scattered Home Chef Syndrome… something I seem to suffer from. Yep.
Here’s what I did to mess up this recipe:
1. Use waaaay too much meat.2. Pesto on top, no problem here.3. Mix tomatoes, garlic, water, stuffing… check. (see that cheese? Yeah, forgot to put it on the chicken at this point)4. Stuffing mix on chicken……and cheese on top. Oops.Try to flip the stuffing and cheese… succeed in mixing them instead.5. Bake 375 30 minutes …one hour. Worry that stuffing is too dry and chicken is under cooked.6. Enjoy the flavors of tender, pesto chicken (not under baked), and cheesy stuffing even though it is in the wrong spot. I would use more cheese next time.
SeriousEats.com is one of my go-to web sites for anything in the food and cooking world. I love, Love, LOVE their test recipes, food tourism articles, product reviews… love it all.
Photo from, and links to, SeriousEats.com Fresh Ricotta Recipe
One of my favorite contributors is J. Kenji López-Alt and his “Food Lab” articles are kitchen chemistry at its best… my favorite type of food reading. Tonight I tried a recipe he worked on in detail five years ago- “Fresh Ricotta in 5 minutes or Less.”
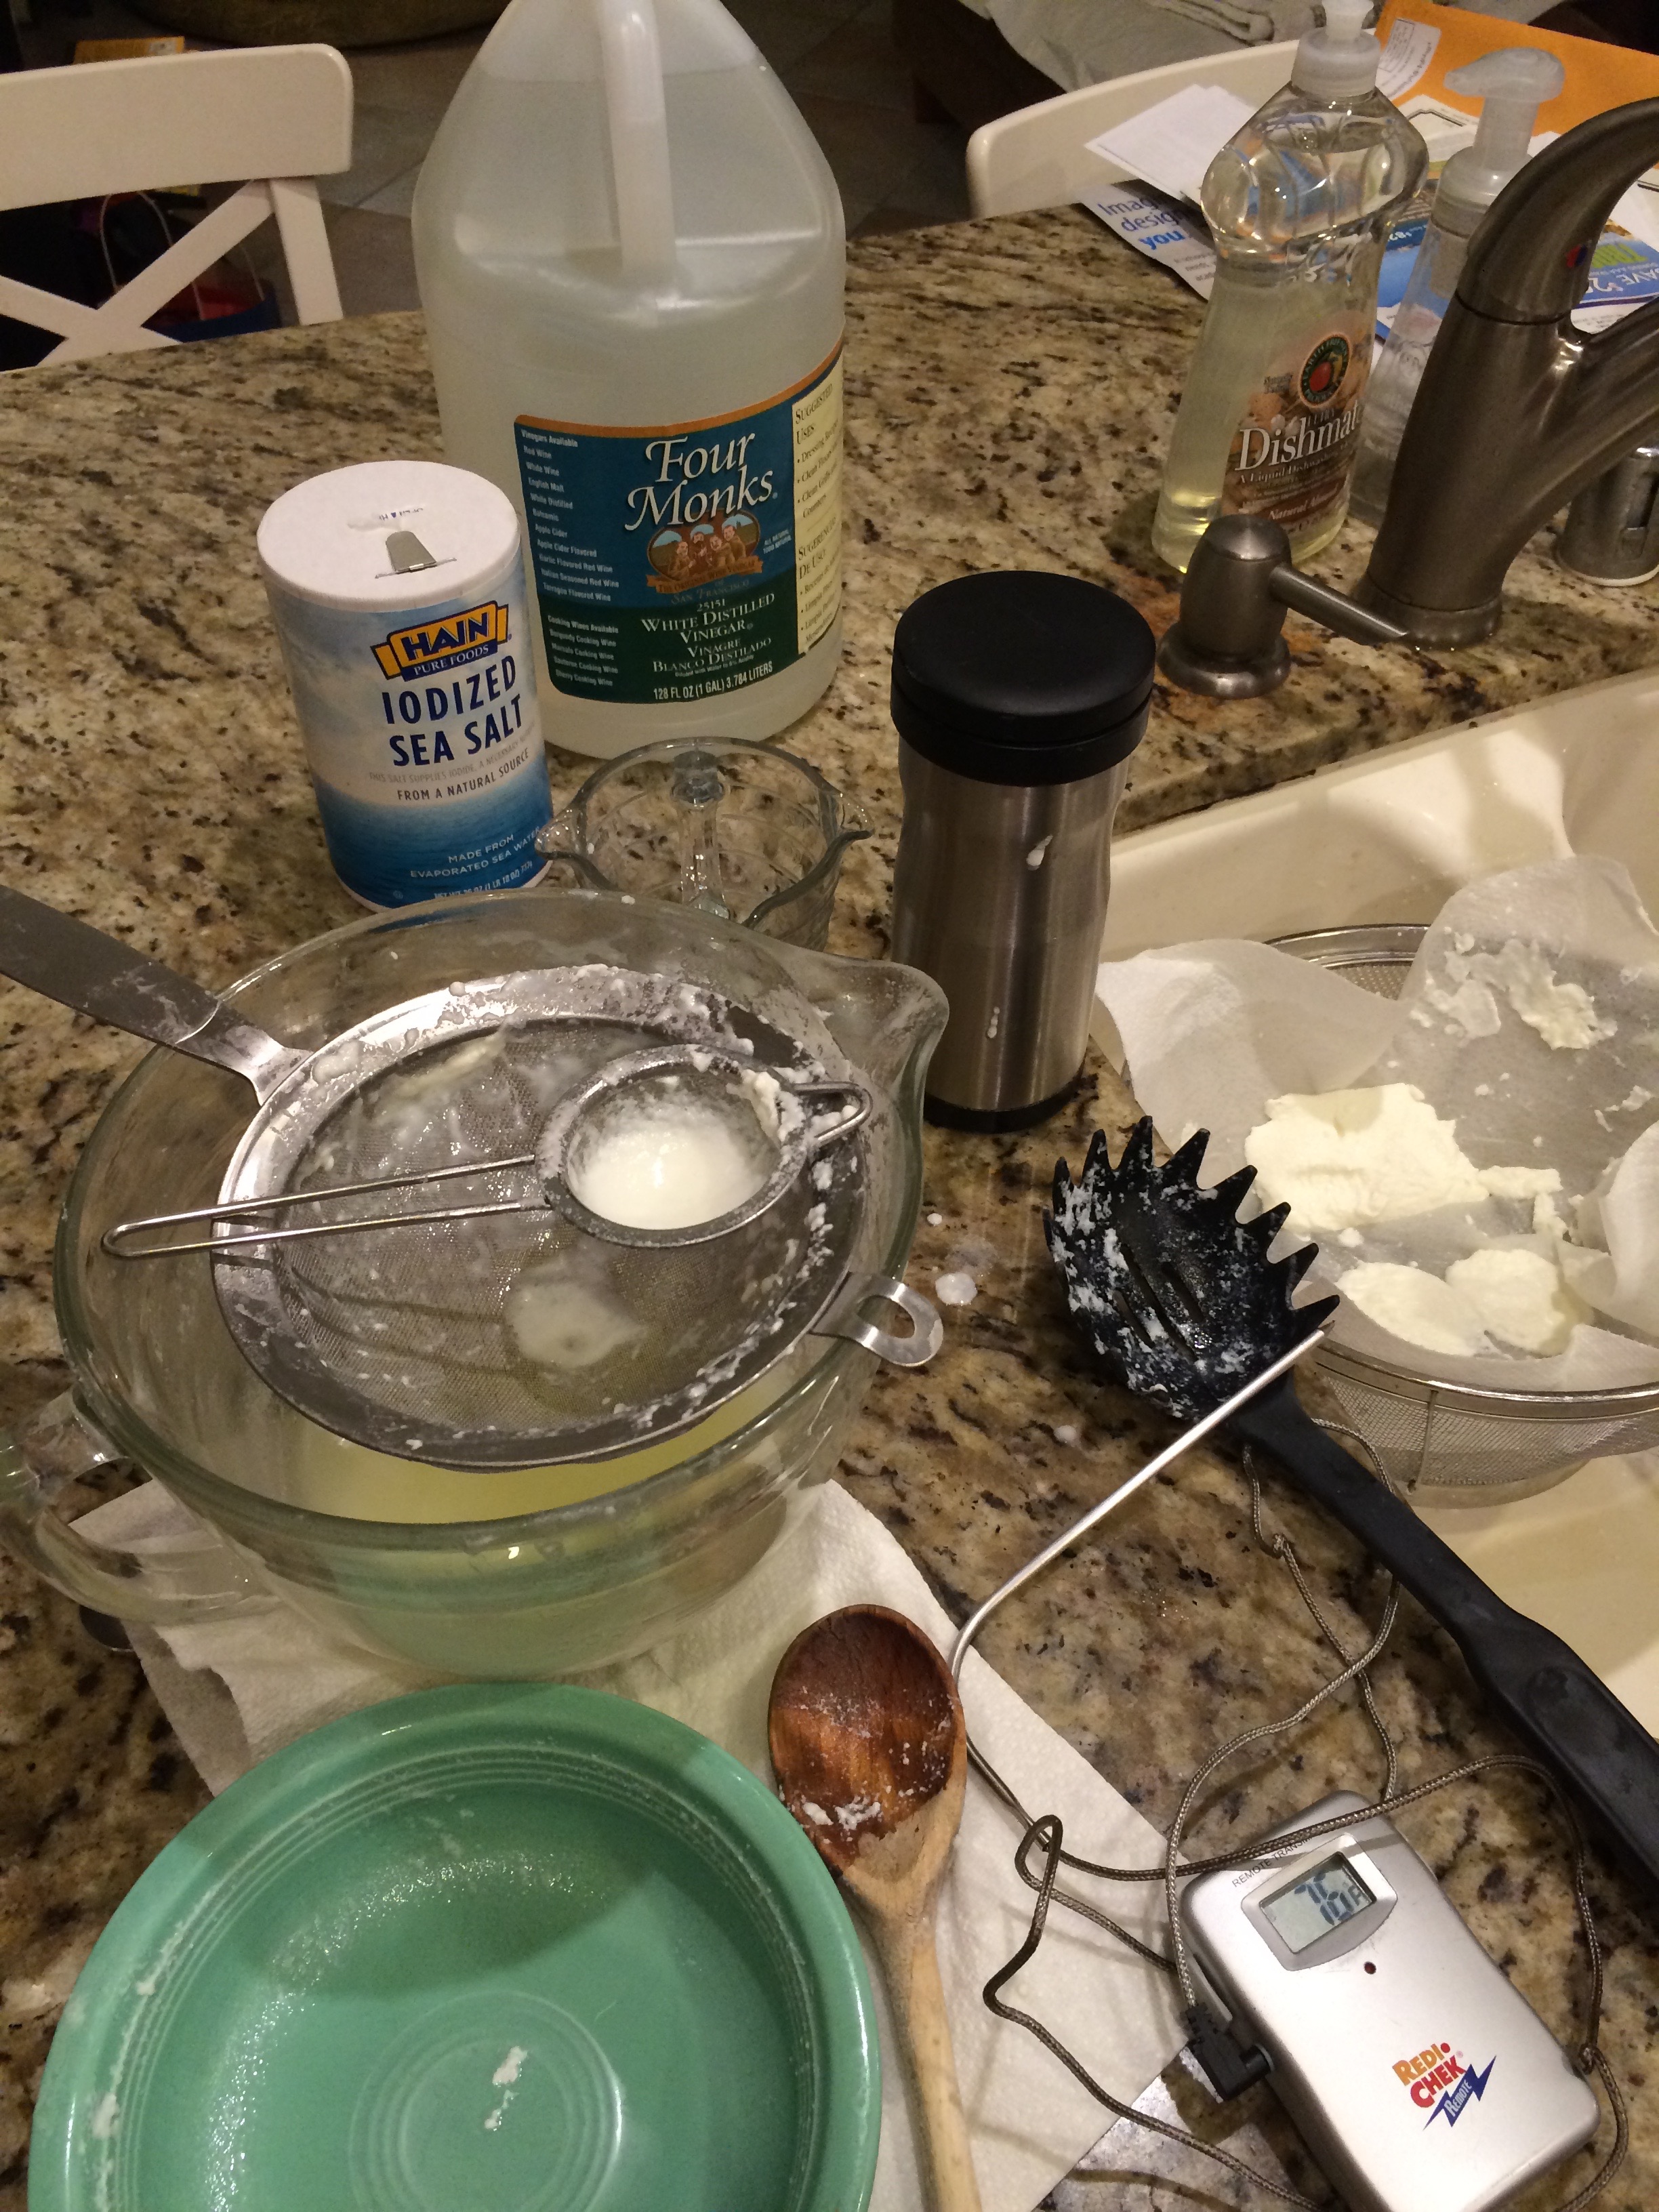
Maybe doubling the recipe put things out of whack? Might the larger volume of milk thrown off how long the milk should have been brought up to the specified 165 degrees? All I know is, more than double the microwaving time wasn’t the only issue. The milk initially started coagulating just fine, but then the mass of curds just fell apart.
From four cups of whole milk I netted about half a cup of ricotta curds. And a kitchen that smelled distinctly of baby barf. You fellow parents know exactly what I mean.
P.U.
One big, stinky mess.Here’s the haul! 1/2 c. ricotta from 1 hour of fussing with micro-curds
I am not finished with you, oh Great Stinky Experiment, if Kenji says I can do this, then, by gosh, I CAN! I will repeat this soon… very soon.
We love our baked chicken around here. This is one of the first dishes my mom taught me to make, and hers is still king in my book. We have a way of preparing it so that it tastes like one of our favorite snack- Snicker Snacks (the same ones I shared with our awesome school security guards, “SnickerWhat’s-its and Thank Yous,” on 2/3/15). I should call it Snicker Snacks Chicken:
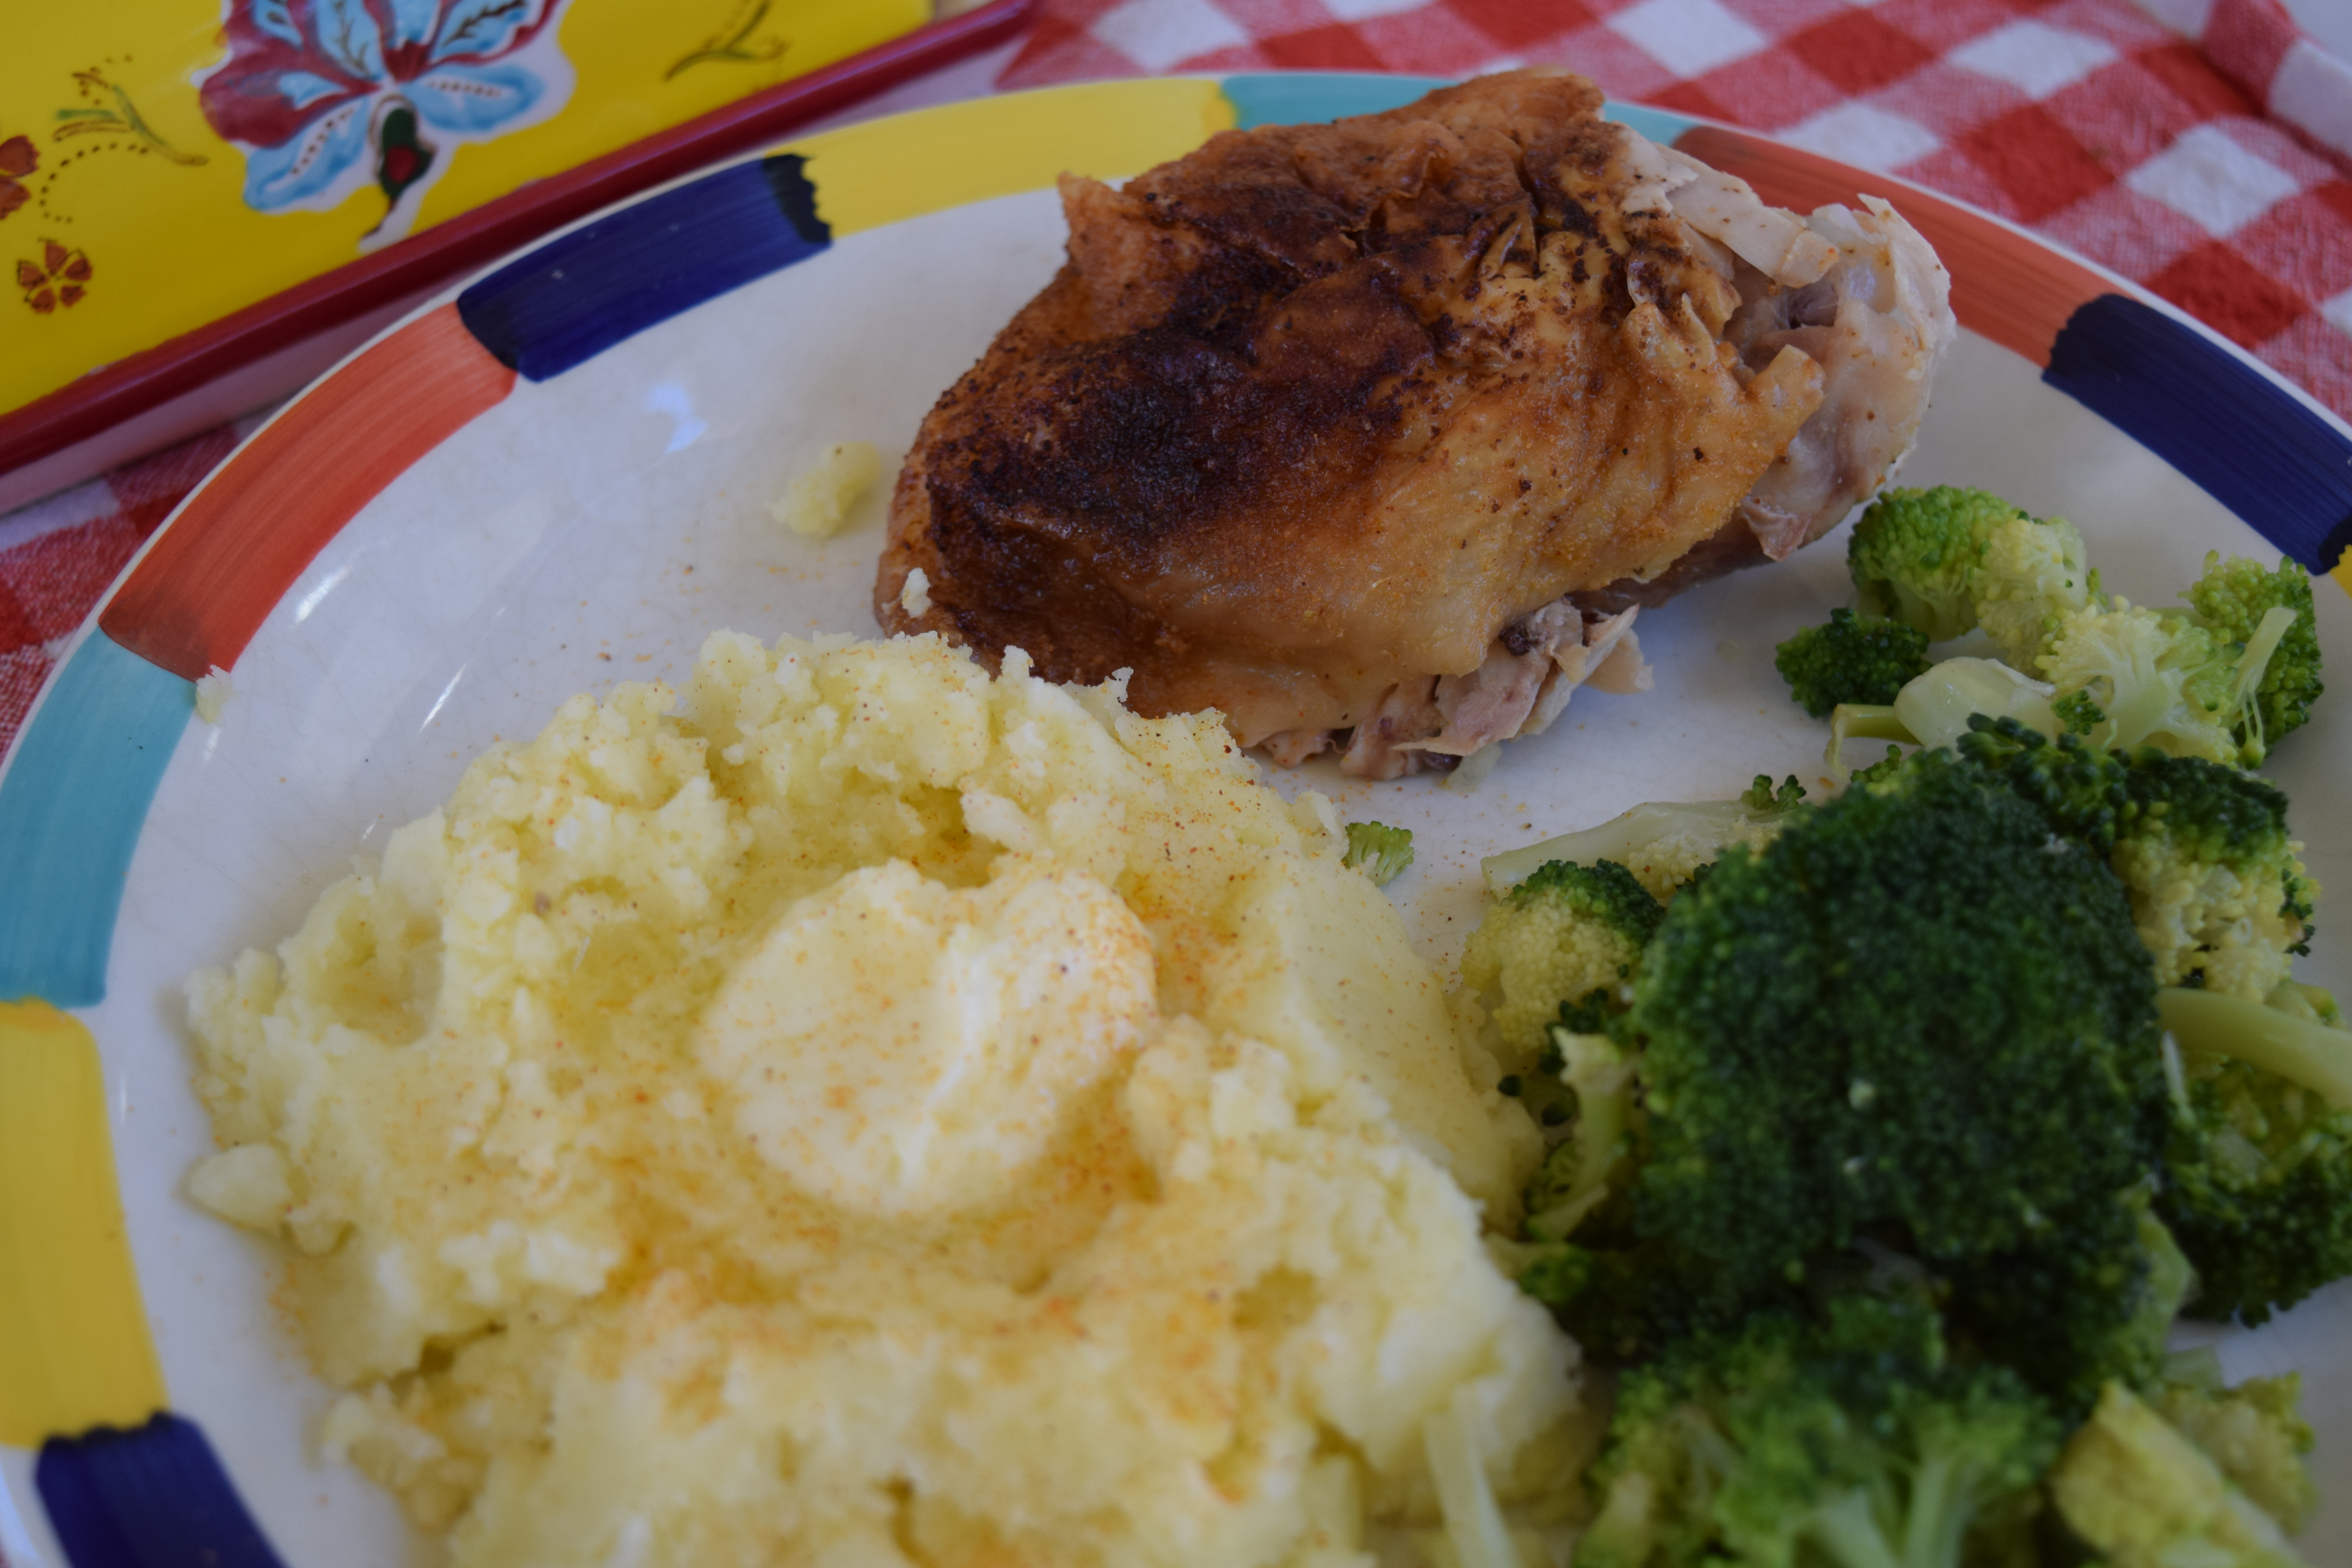
Our favorite baked chicken, with mashed potatoes and broccoli.
This is super easy- In a 9″ x 13″ baking dish, place a quartered chicken (or 8 chicken thighs), skin side up, brush with a mix of 2 tablespoons melted butter and 2 teaspoons Worcestershire sauce, and then sprinkle with onion powder, garlic powder and Lawry’s seasoned salt; bake at 400 for 25-30 minutes, until the skin is nice and crispy.
Bake it long enough, do not be afraid, and you will be rewarded with a lovely crisp skin glazed in lemony goodness. I liked this recipe, even though I overcooked it a bit in the end. I think it is because my thighs were of different sizes. That does sound like a personal problem, but I assure you I am referring to the chicken thighs here. Ha.
The Boy liked the usual “snicker snacks chicken” better, The Husband liked it, International Boy liked it well enough, I gave it a Seal of Approval, “I’d Make This Again” Vote. I really liked the fresh lemon flavor… nice and bright. Yum! I highly recommend following the recipe- do not skimp on the fresh, real lemon zest or juice, and use fresh garlic. They really make this dish shine. Great recipe, Annies-Eats.com!
I grew up eating a healthy mix of home cooking and pre-made junk. Dinner could be Packet of Spaghetti Seasonings + ground beef = Spaghetti Sauce… or maybe fried chicken from scratch. Casserole with Cream O’ Something Soup was just as likely to be on the table as a completely homemade soup- homemade right down to the broth… yum! My mom, grandmother, and later, mom-in-law all had great dishes to pass on. I love to cook and feel indebted to them for sharing.
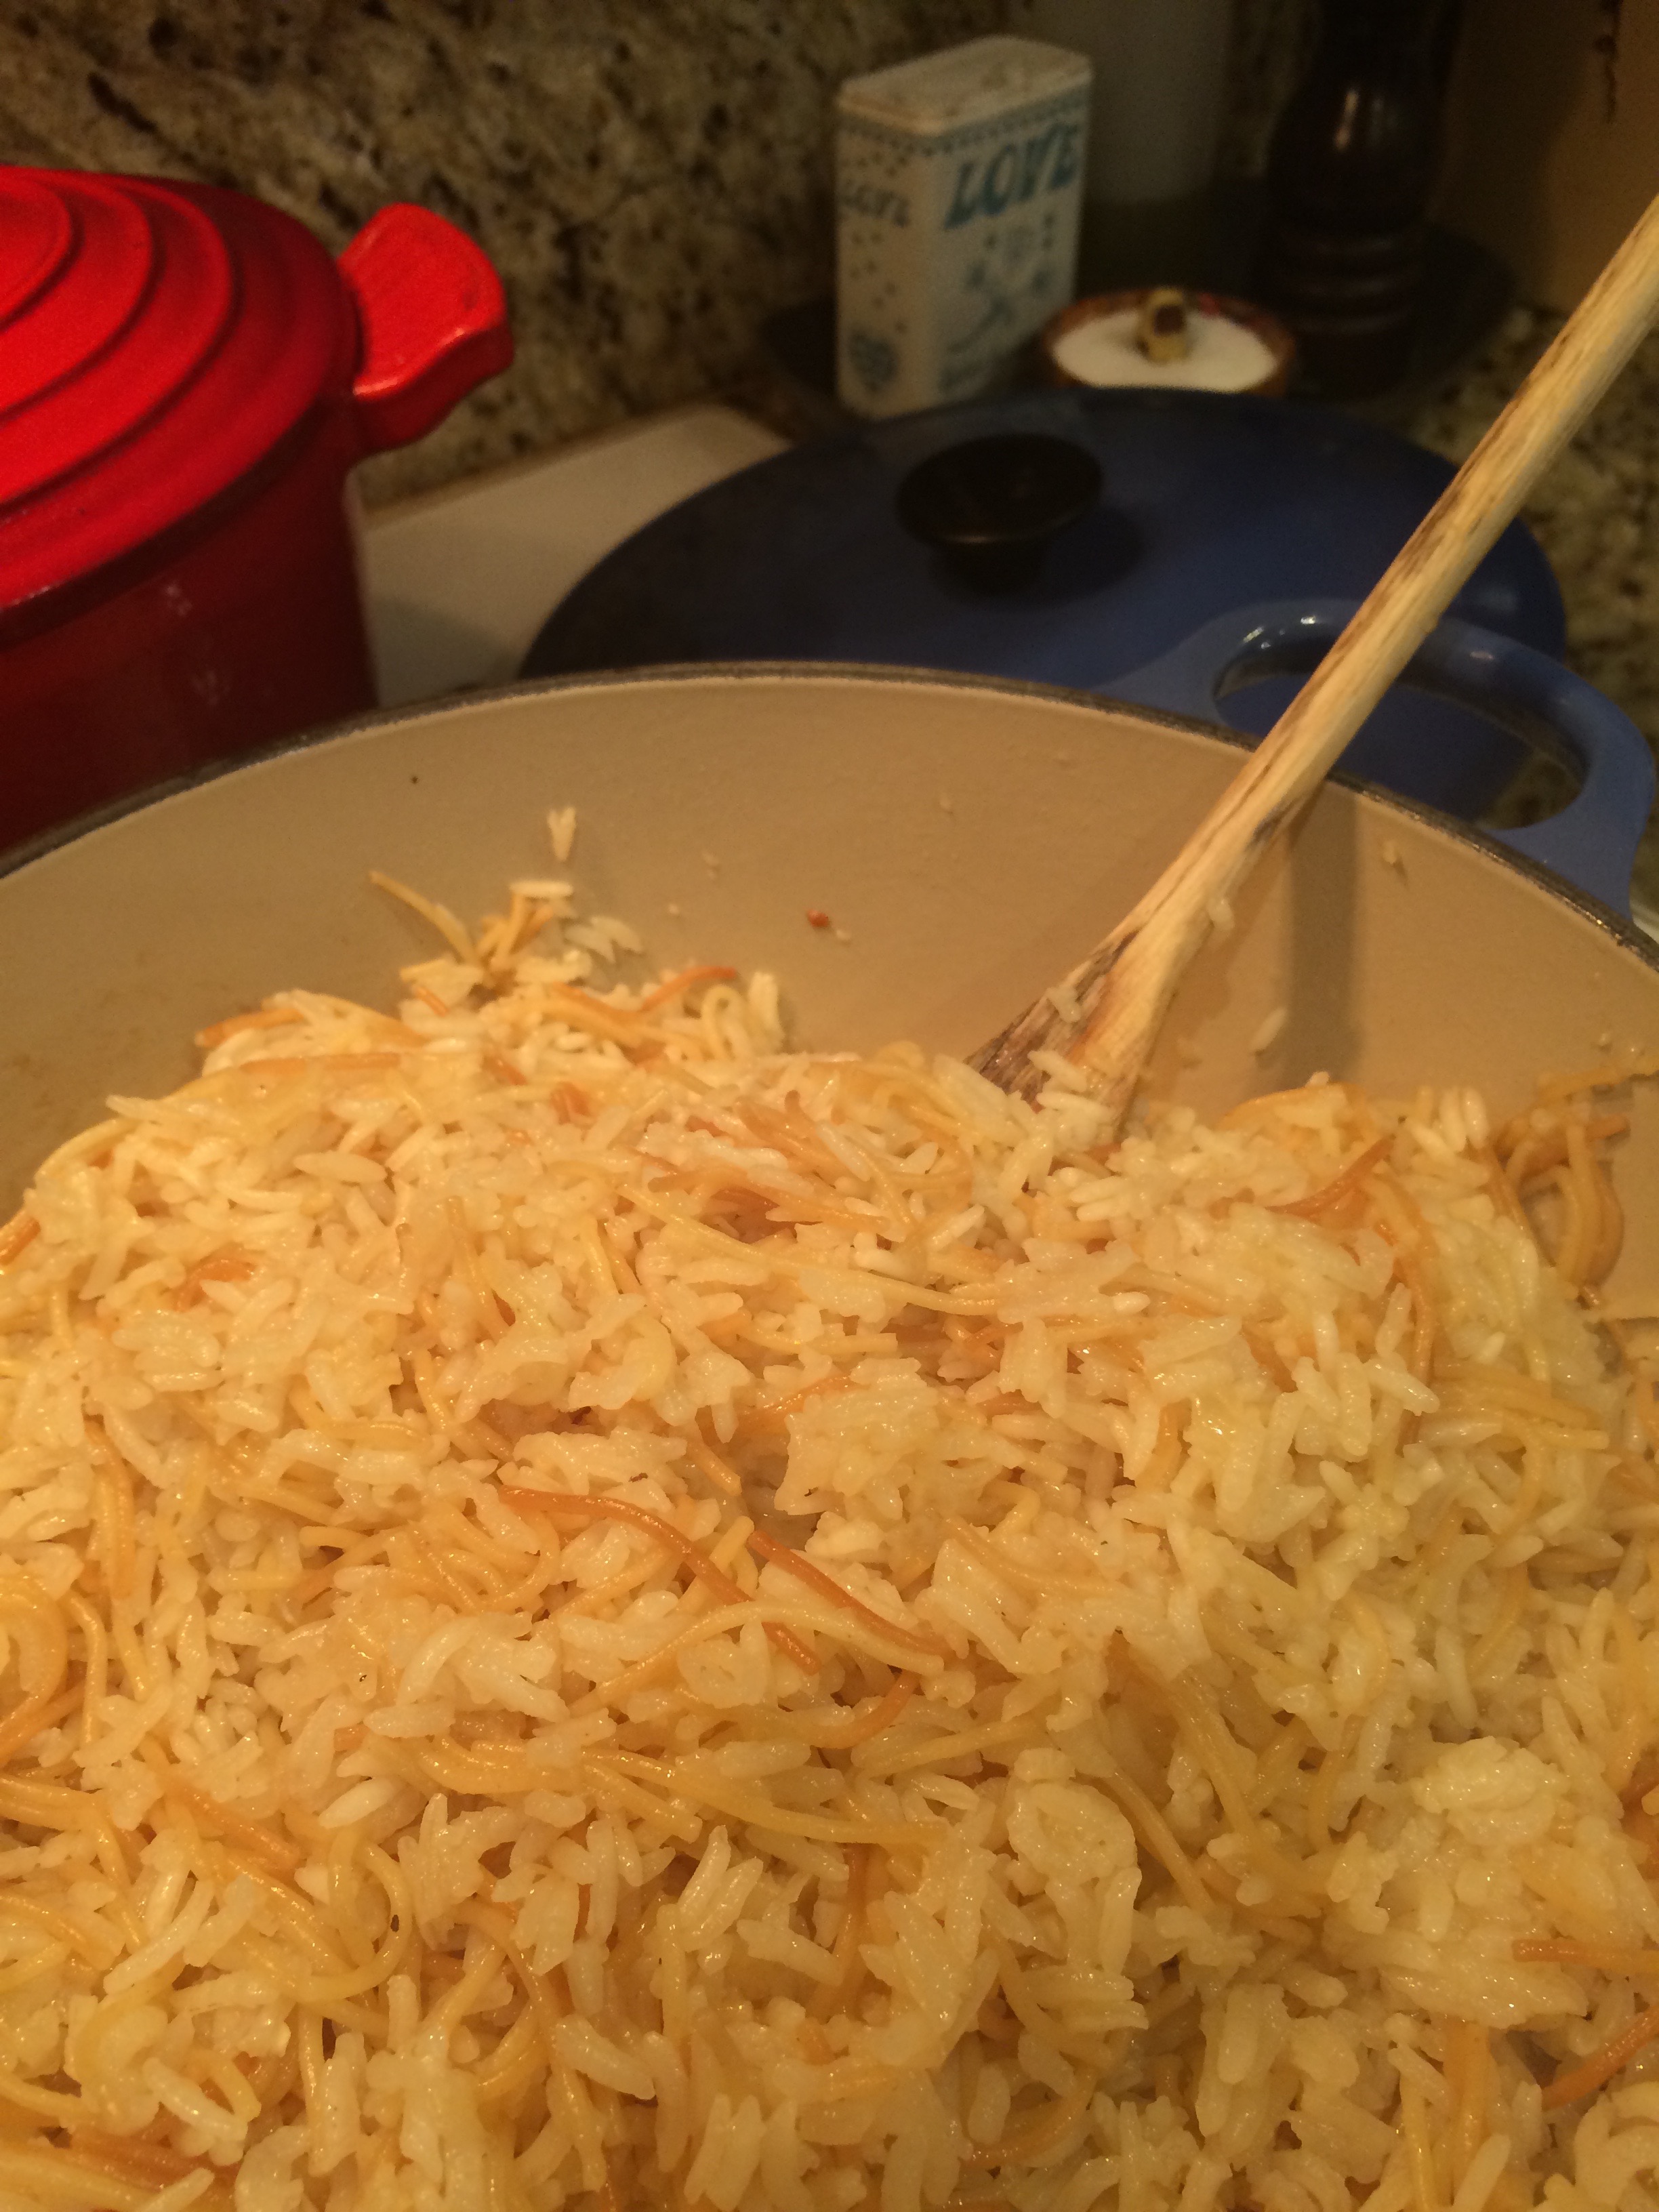
Once while babysitting, the mom of the house had me finish cooking her son’s favorite dish they called “Hawaiian Chicken and Rice.” It was simply browned boneless chicken breast and pineapple chunks added to chicken flavored Rice-A-Roni. It was great! The kid and I polished the entire dinner and I soon started making it for myself at home. I haven’t thought of that boxed side dish since those baby sitting days, but this weekend I saw America’s Test Kitchen crew prepare their own version and I had to try it…
Here’s how I made it- the only change made was using salted butter… and skipping the parsley. Enjoy my notes on and mistakes during the cooking process:
Home Made Rice-A-Roni
1 1/2 cups long-grain white rice
3 tablespoons butter
2 oz vermicelli, broken
1 onion, grated
1 garlic clove, minced
2 1/2 cups chicken broth
1 teaspoons salt
1- Place rice in a large bowl and rinse a few times to remove excess starch. Fill bowl with hot water an inch or two above the level of the rice and let it sit for about 15 minutes. I think my water wasn’t hot enough- on the TV show, it was steaming hot. This part helps to par cook the rice, and if the water isn’t hot enough, expect a longer cook time in the end…
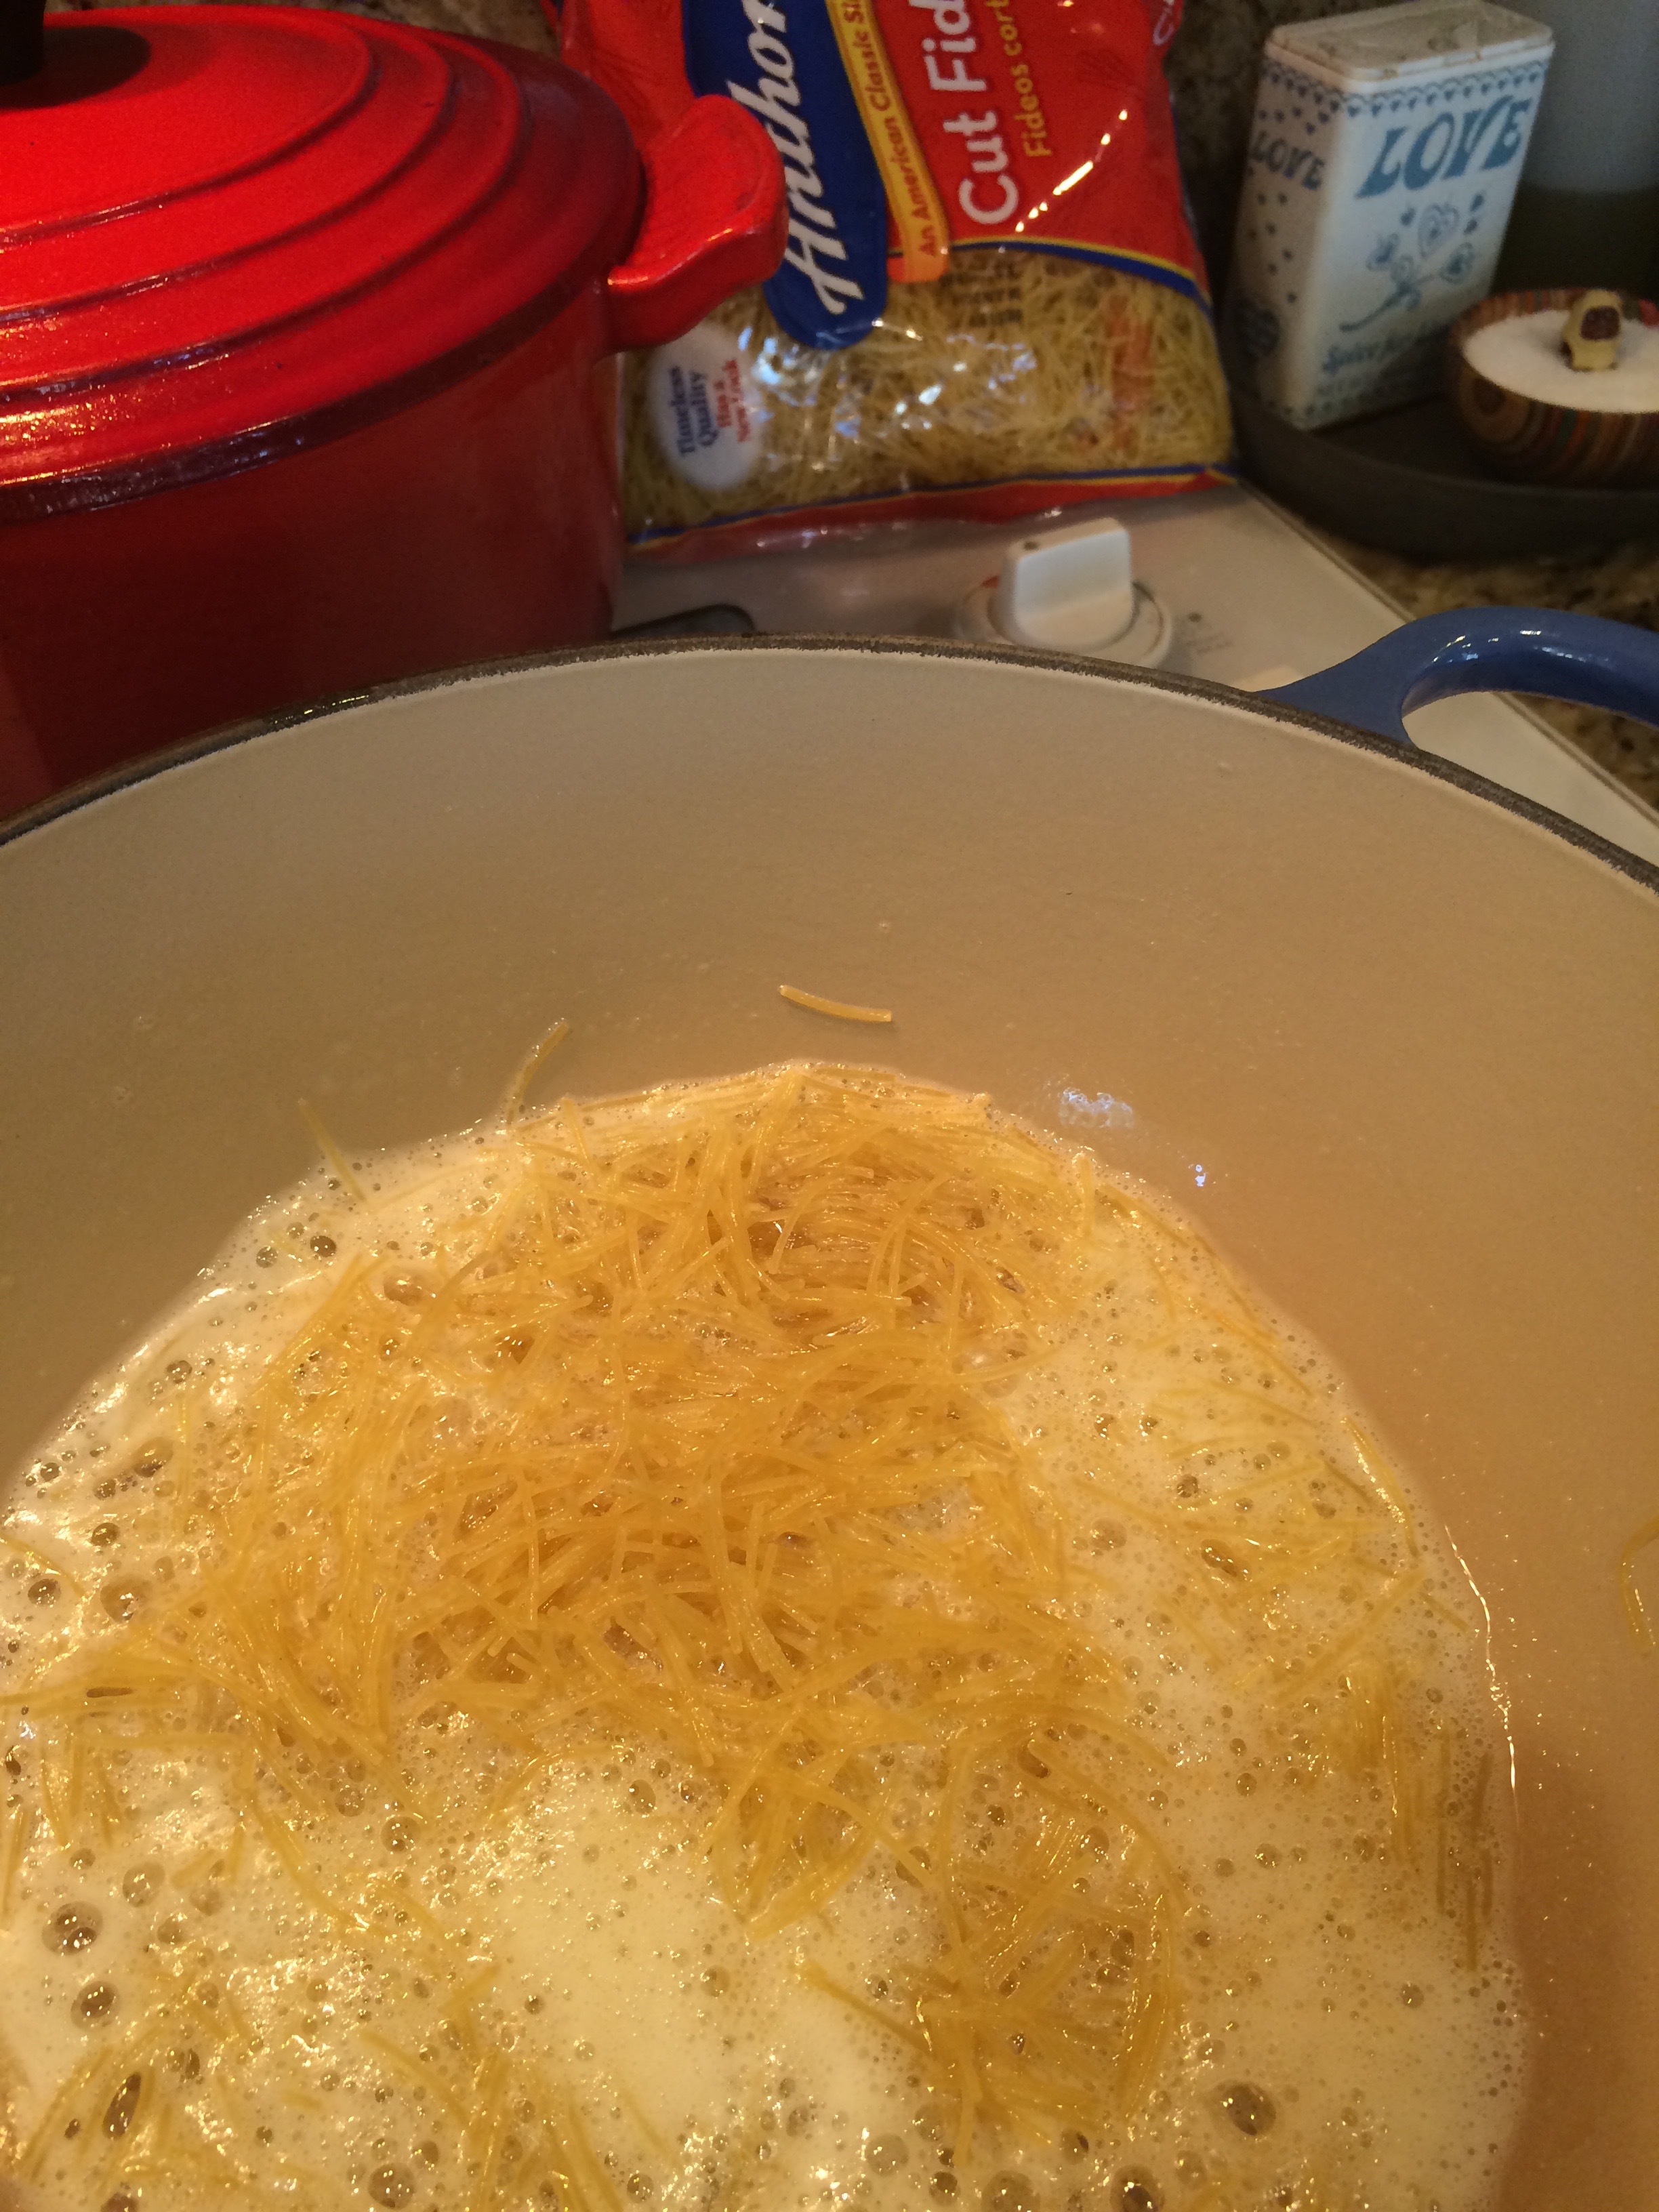
brown the vermicelli
2- In a heavy pot, brown the pasta in the butter over medium heat for about three minutes. Watch out- it will turn from light to browned very quickly… in about as much time it takes to snap a picture of it for you blog, for instance, it can go from blond to over browned. Yep.
sauté onion and garlic, too…
3- Add grated onion, salt, and garlic. Sauté for 3-4 minutes until clear. Add rice, sauté until clear, another 3-4 minutes. If you thought the pasta smelled great while it browned in the butter, this will smell even better.
…add chicken broth.
4- Add chicken broth, bring to a boil, turn to low and cover for 10 minutes or until all liquid is absorbed. Mine took more like 20 minutes (water wasn’t hot enough to par cook the rice in step one, I think).
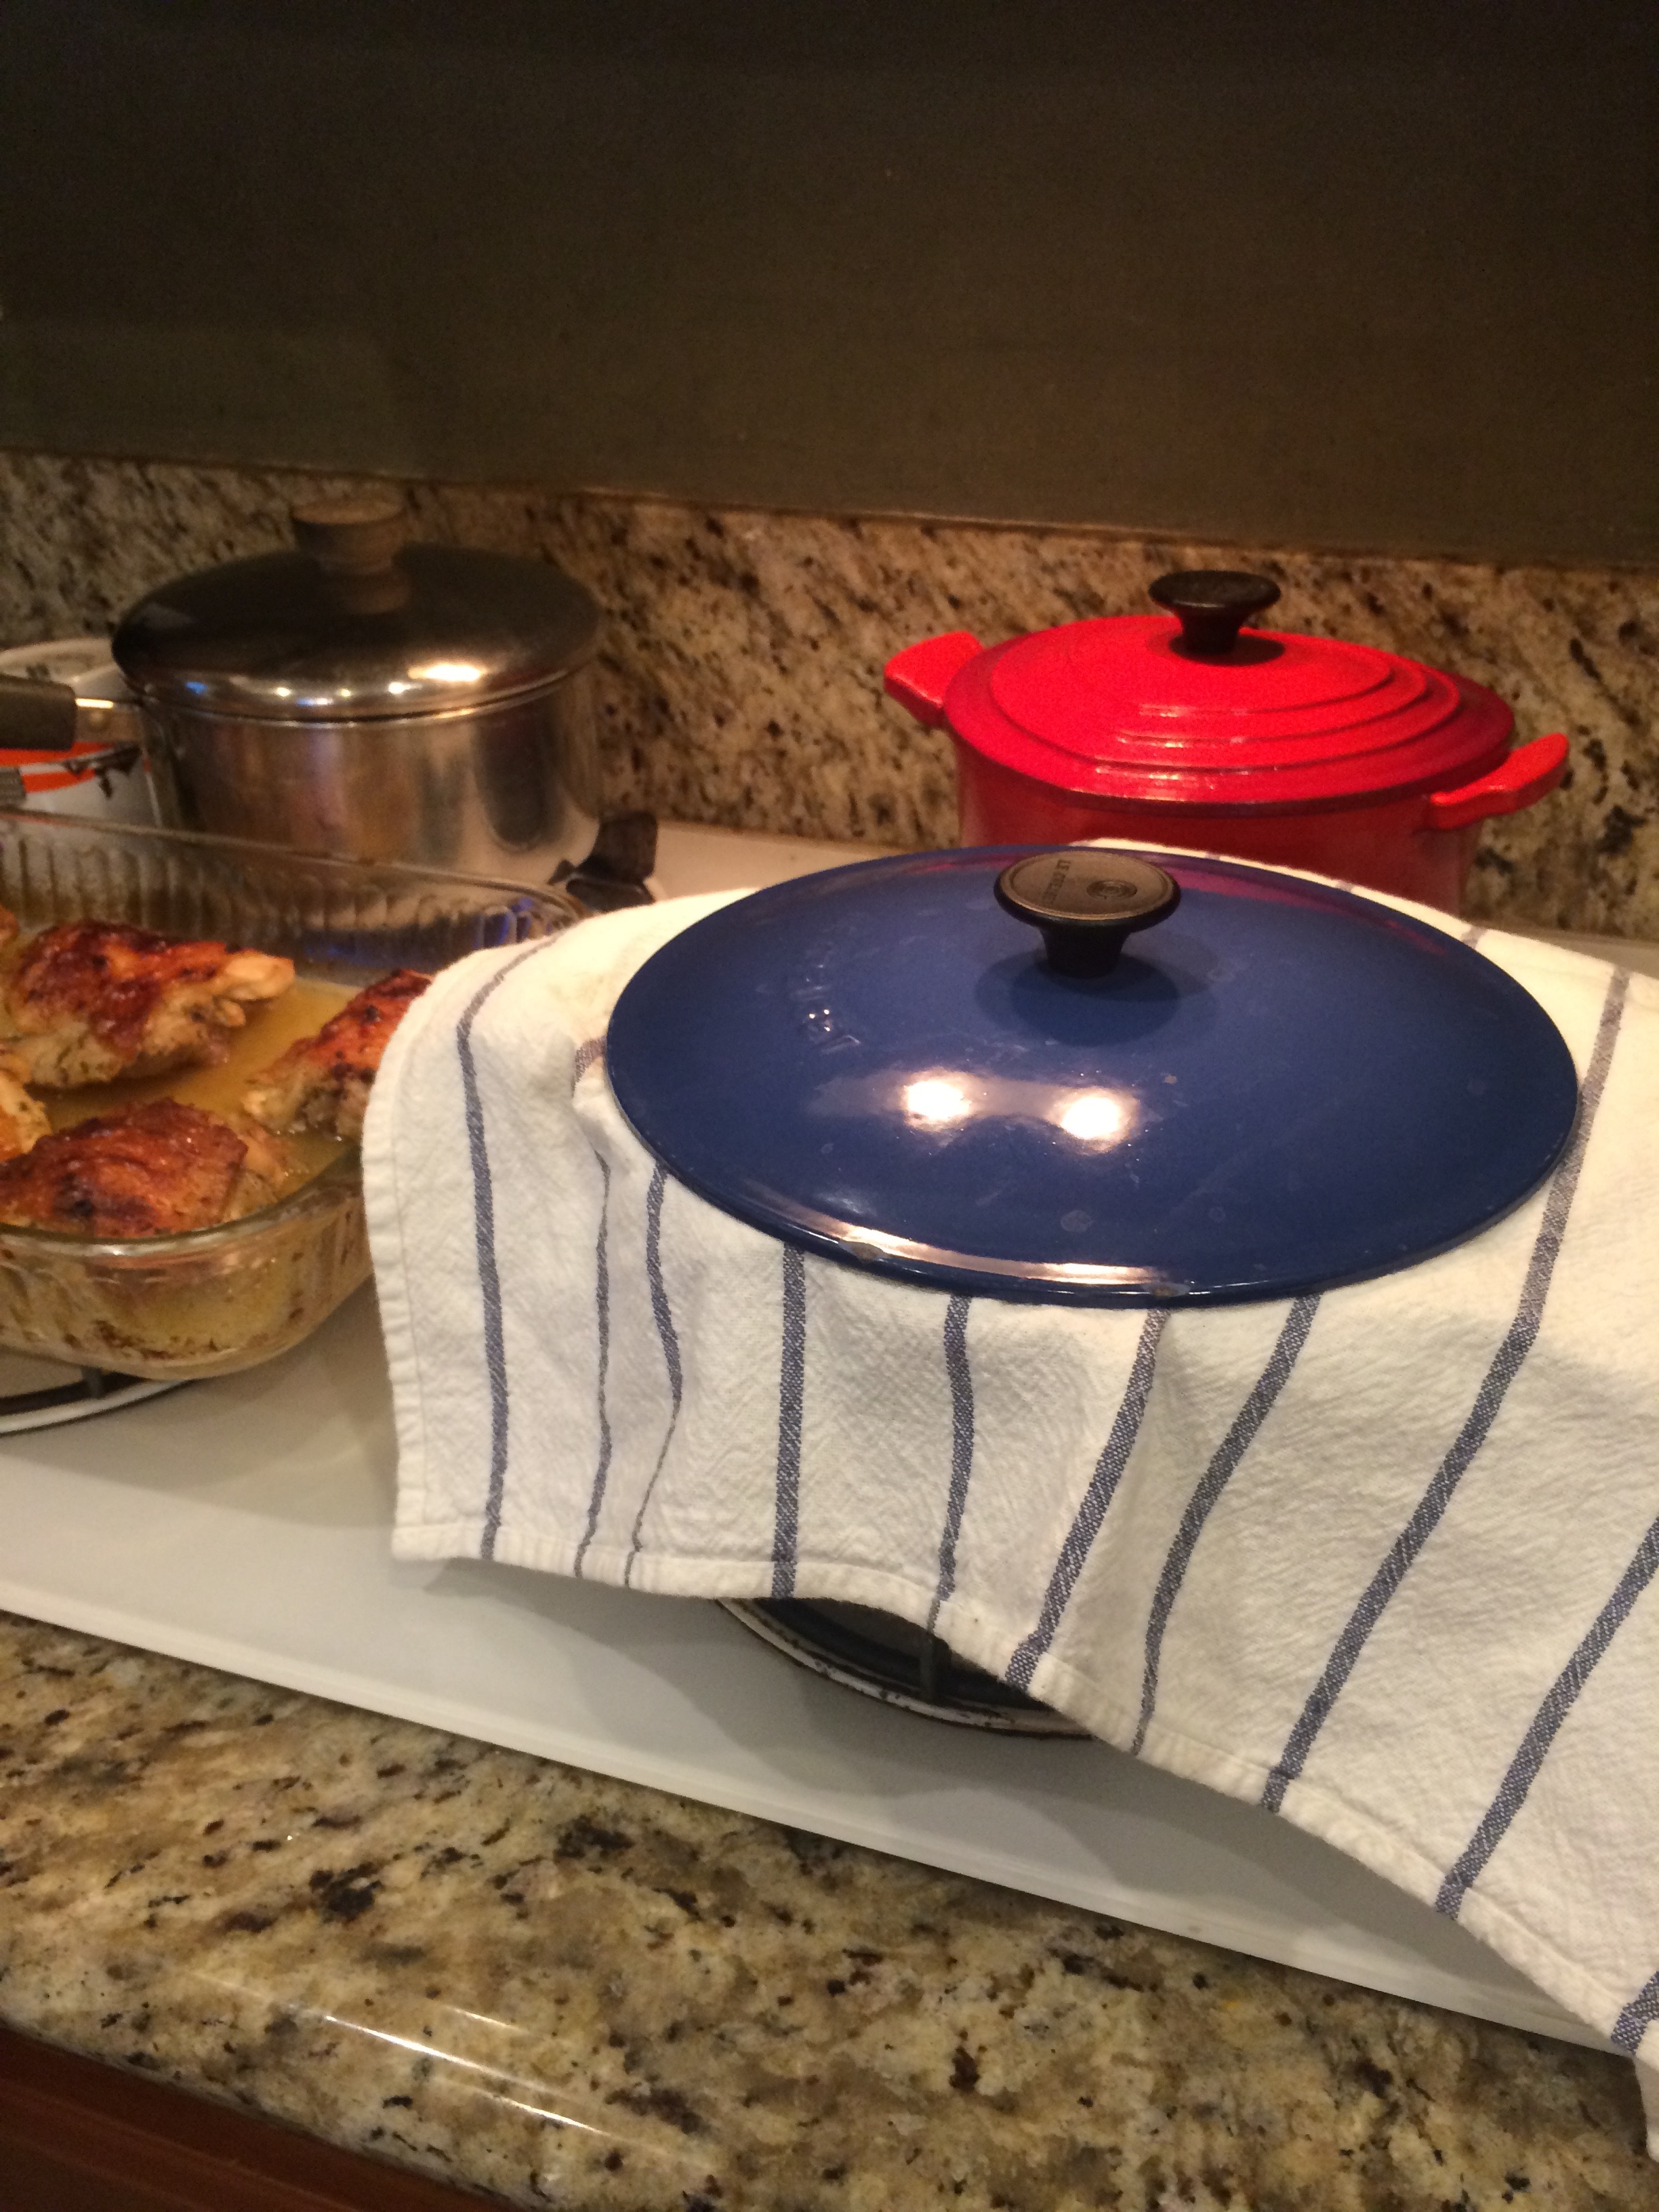
towel over pot
5- Let your pilaf finish by resting with a towel between the lid and the pot. Fluff up and serve! I’ve never done this extra step before, with the towel, but I really think it did help keep the pilaf fluffy.
So, how easy was this? About as easy as the original boxed recipe, really. Except for grating the onion… I’ve never grated onion before, and some of my knuckle got into the dish, I think. Ouch. Overall though, it was a pretty tasty side dish!


 And The Husband Sayeth: “It is good.” Good, my foot, these bars are GREAT. Thank you Sheila at SweetBakedLife.com for your Pumpkin Butter Dessert Bars– a delicious dessert that is too good to be served only one season of the year. Sheila made a few changes to the original recipe to the ever popular Williams Sonoma dessert so the proportions work with the slightly smaller jar of pumpkin butter from Trader Joe’s. Thanks for doing the work, Sheila, your recipe is dee-lish!